

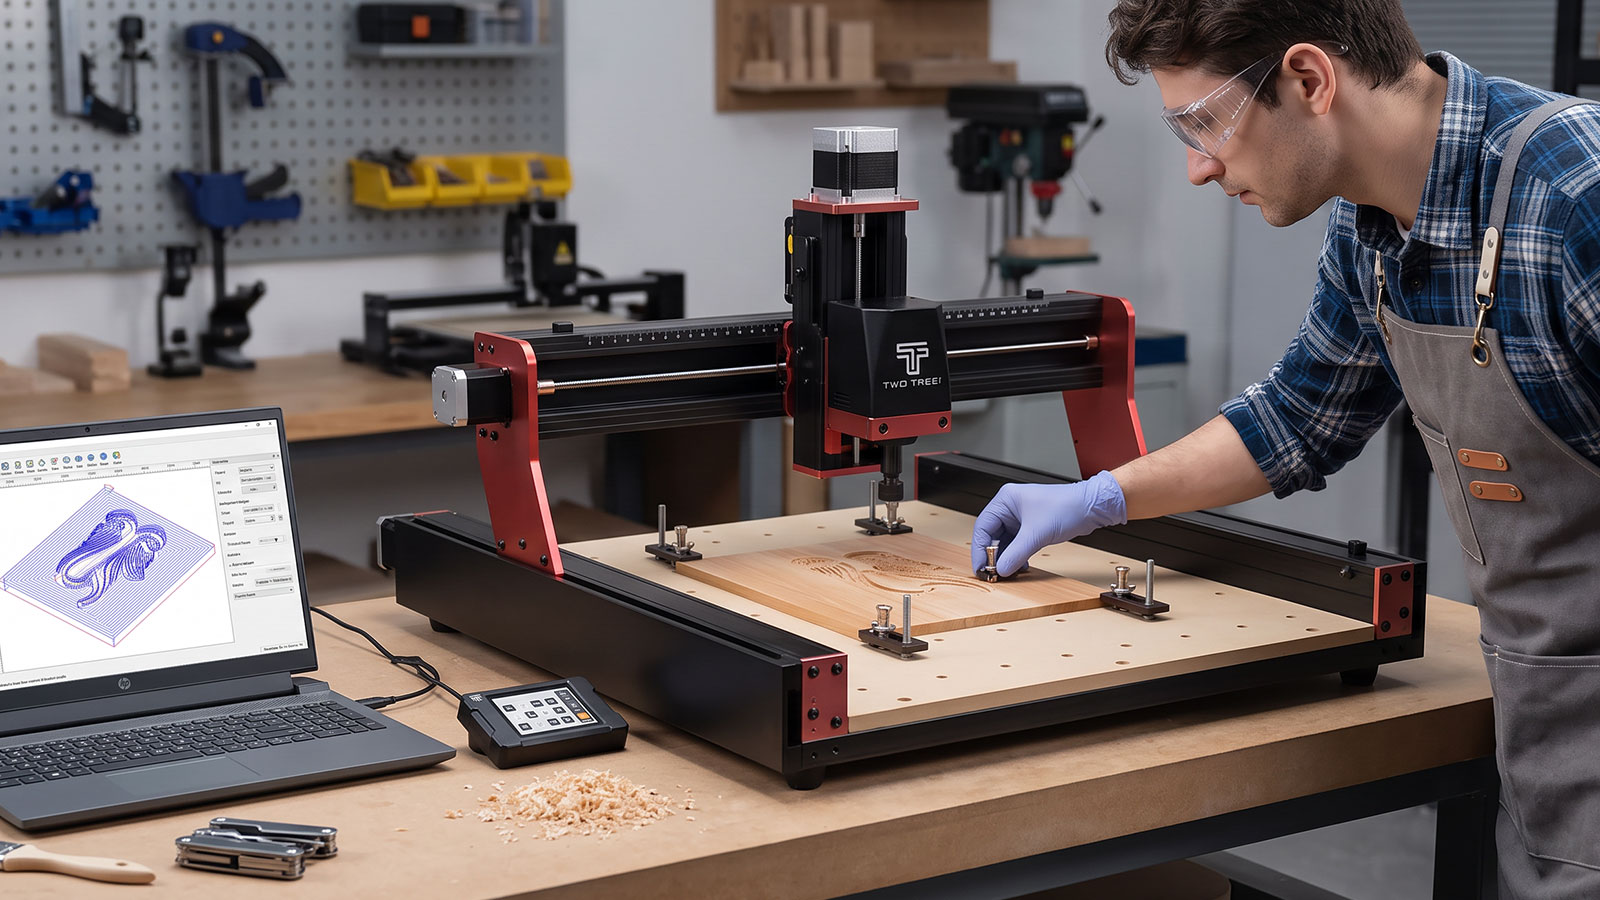
Learning how to use a CNC router comes down to eight steps that happen in the same order every time: prepare your design file, set up your CAM software, home the machine, choose your bit and material, run a test cut, run the job, finish the piece, and troubleshoot if something looks off. Once you've done it a couple of times, the sequence becomes routine. This guide walks through each step, plus the basics you need before you start and what to check if a cut doesn't go to plan.
Safety Before You Start
Before you switch anything on, put on safety glasses and hearing protection, tie back loose hair and clothing, and make sure your dust extraction is connected. Keep your hands well clear of the bit while the spindle is running, and know where your emergency stop is before you start the job.
How to Use a CNC Router: Step by Step
1. Prepare Your Design File
Start with your design in an SVG, DXF or STL file, or draw it directly in your CAM software. Check it fits within your machine's work area before you go any further. The Two Trees TTC450 Pro, for example, has a 460 x 460 mm bed, so anything larger needs to be split into panels or scaled down.
2. Set Up Your CAM Software
Import your file into your CAM software and set your cut depth, feed speed and bit selection. The software calculates the toolpath and exports it as G-code, the file your control software will send to the machine. Check the toolpath preview before you export, since this is the easiest place to catch a mistake.
3. Home Your Machine
Homing sends your router to a fixed reference point so the machine knows exactly where its axes are. Do this every session, not just the first time, since it's what keeps your zero point accurate from job to job. Listen for any grinding or resistance as the machine moves, and stop immediately if something doesn't sound right.
4. Choose Your Bit & Material
Match your bit to the material you're cutting. A straight or spiral bit suits wood and plastics, while softer metals need slower speeds and a bit rated for the job. Check the compatible materials for your machine before you start; the TTC450 Pro, for instance, is rated for wood, acrylic, plastics and soft metals.
5. Run a Test Cut
Run an air cut with the bit raised clear of the material so you can watch the full toolpath play out before it touches anything. Follow that with a scrap piece of the same material. This is the step most beginners skip, and the one that saves the most material in the long run.
6. Run the Job
Load your G-code into your control software, set your X, Y and Z zero over the actual start point on your material, and start the job. Stay close for the first pass, particularly on a new design or a new material, so you can hit stop if the cut doesn't match what you expected.
7. Finish Your Project
Once the job finishes, clear dust and offcuts from the bed before you remove your piece. Sand or deburr any rough edges, and give the finished piece a quick check against your original design. Inspect your bit for wear while you're there; a dull or chipped bit is one of the most common causes of a rough finish on the next job.
Troubleshooting Basics
Most early problems come down to one of the same few causes.
- Rough or burnt finish — usually a dull bit, feed speed set too slow, or the wrong bit for the material.
- Cut is in the wrong place — check your zero point was set correctly before the job started.
- Machine won't home — check for obstructions on the rails and confirm the cable connections are secure.
- Chatter or vibration — often a loose workpiece. Check your clamps or hold-down before the next pass.
- Bit snapped mid-job — stop and check your feed speed and cut depth per pass; going too deep in one pass is the most common cause.
Frequently Asked Questions
Do I need CAD experience to use a CNC router?
No. Many beginner CAM programs let you import a ready-made SVG or DXF file, so you can get started before you learn to design from scratch. Basic CAD skills help once you want to create your own projects, but they're not a barrier to your first few cuts.
How long does it take to learn to use a CNC router?
Most beginners are comfortable running simple jobs within their first few sessions. The steps stay the same every time, so it's mostly a matter of practice with your specific machine and software combination.
Do I need to home my machine every time?
Yes. Homing resets the machine's reference point, and skipping it is one of the most common reasons a job cuts in the wrong place. It only takes a few seconds and should be part of your routine before every session.
What should I do if a cut doesn't look right partway through?
Stop the job immediately using your control software or the machine's emergency stop. Check your zero point, bit condition and toolpath before you restart, rather than letting a bad cut run to completion.
Can I leave a CNC router running unattended?
It's best to stay within reach of the machine for the whole job, particularly with a new design, material or bit. Dust extraction failures, bit breakages and material shifts can all happen without warning.
What's the most common beginner mistake?
Skipping the test cut. An air cut or a scrap run takes a few minutes and catches most mistakes before they cost you material or a finished piece.
Using a CNC router is a repeatable process once you've run it a few times: prepare your file, set up your software, home the machine, pick the right bit and material, test before you commit, run the job, and finish up properly. Keep to that order and most problems are easy to spot before they become expensive ones.