

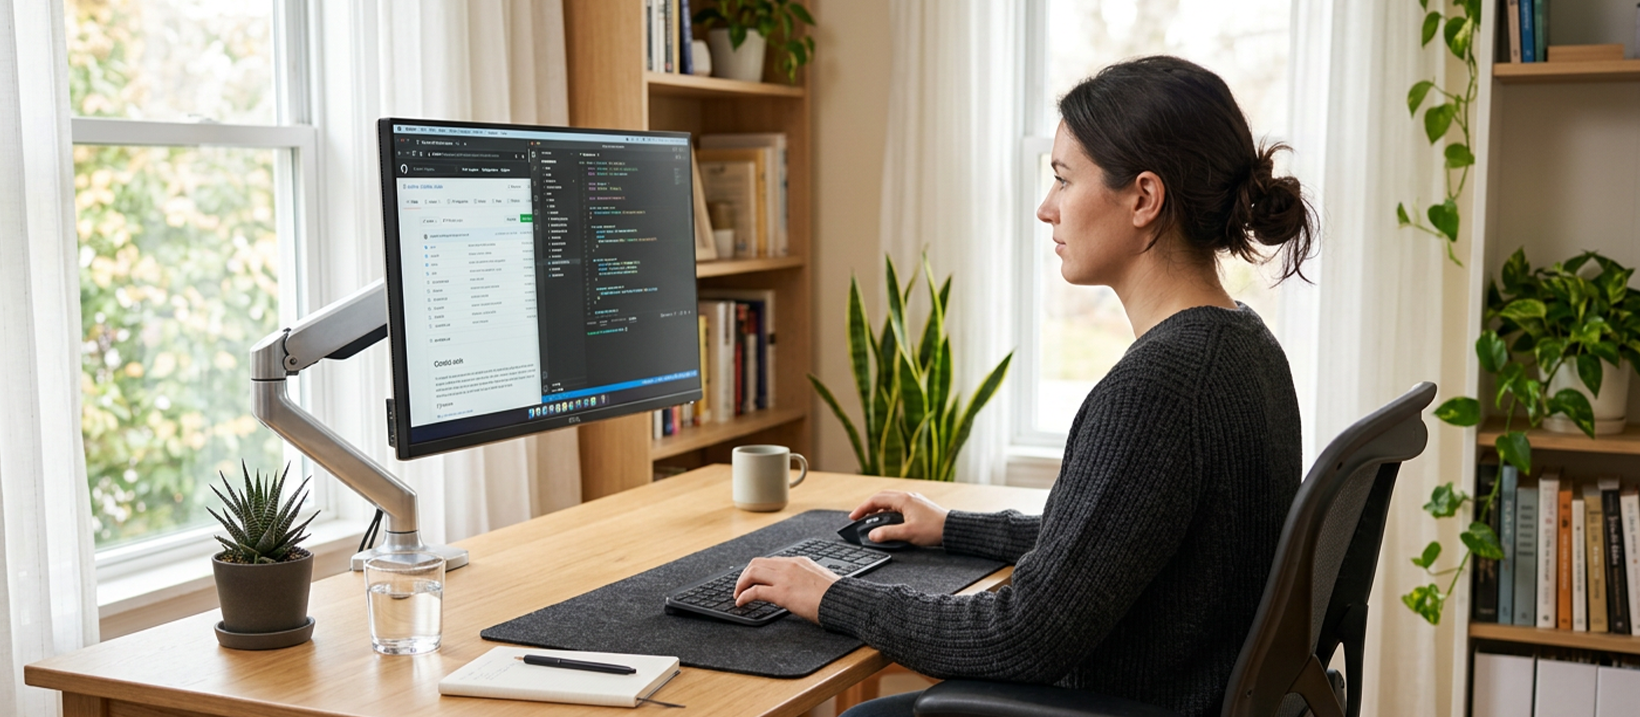
Step 1 - Get to Know Your Natural Posture

Let's start with what feels natural. Scoot your chair back from your desk for a moment and sit down comfortably. This means both feet on the floor, back against the chair, shoulders relaxed and hands on your lap.
When we're sitting in our natural posture we can breathe more deeply, our vertebrae are stacked and we feel good, so memorising this position means that we can build our ergonomic workstation around it.
Step 2 - Adjust Your Chair
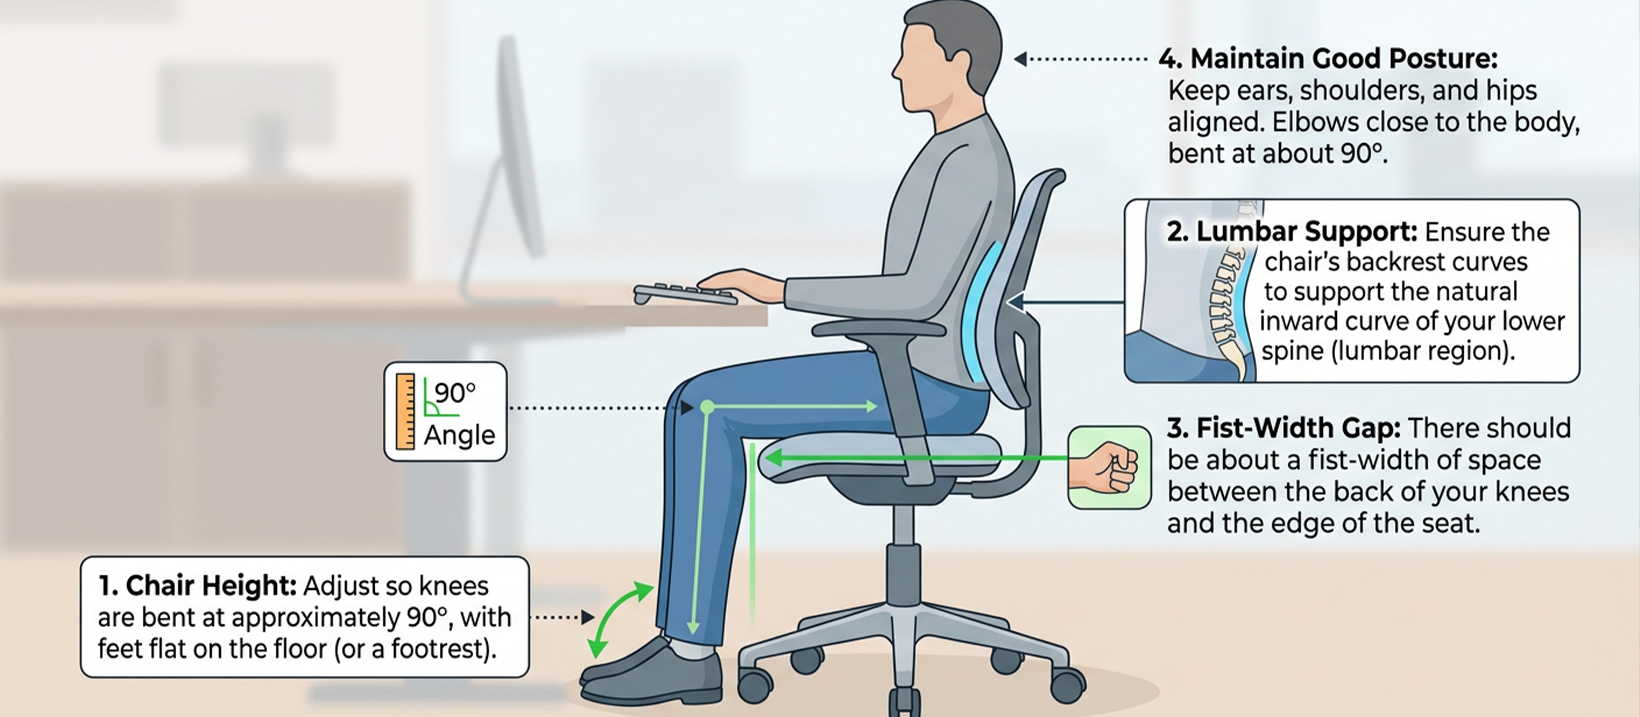
Prone to sitting in funky positions while working? This is a sure sign your chair needs readjustment.
Consider your natural posture: your vertebrae curving inward slightly towards your bellybutton and your tailbone sticking out slightly. This is the lumbar portion of your spine, so you should always opt for a chair with great lumbar support. While sitting, there should be a roughly fist-sized space between the edge of the chair and back of your knees - a chair featuring depth adjustment is your best bet.
Your feet should be on the floor and your thighs slightly below your hips - so if you're shorter you will need a footrest, and if you're taller you may need to adjust your desk height.
Step 3 - Set Up Your Mouse & Keyboard
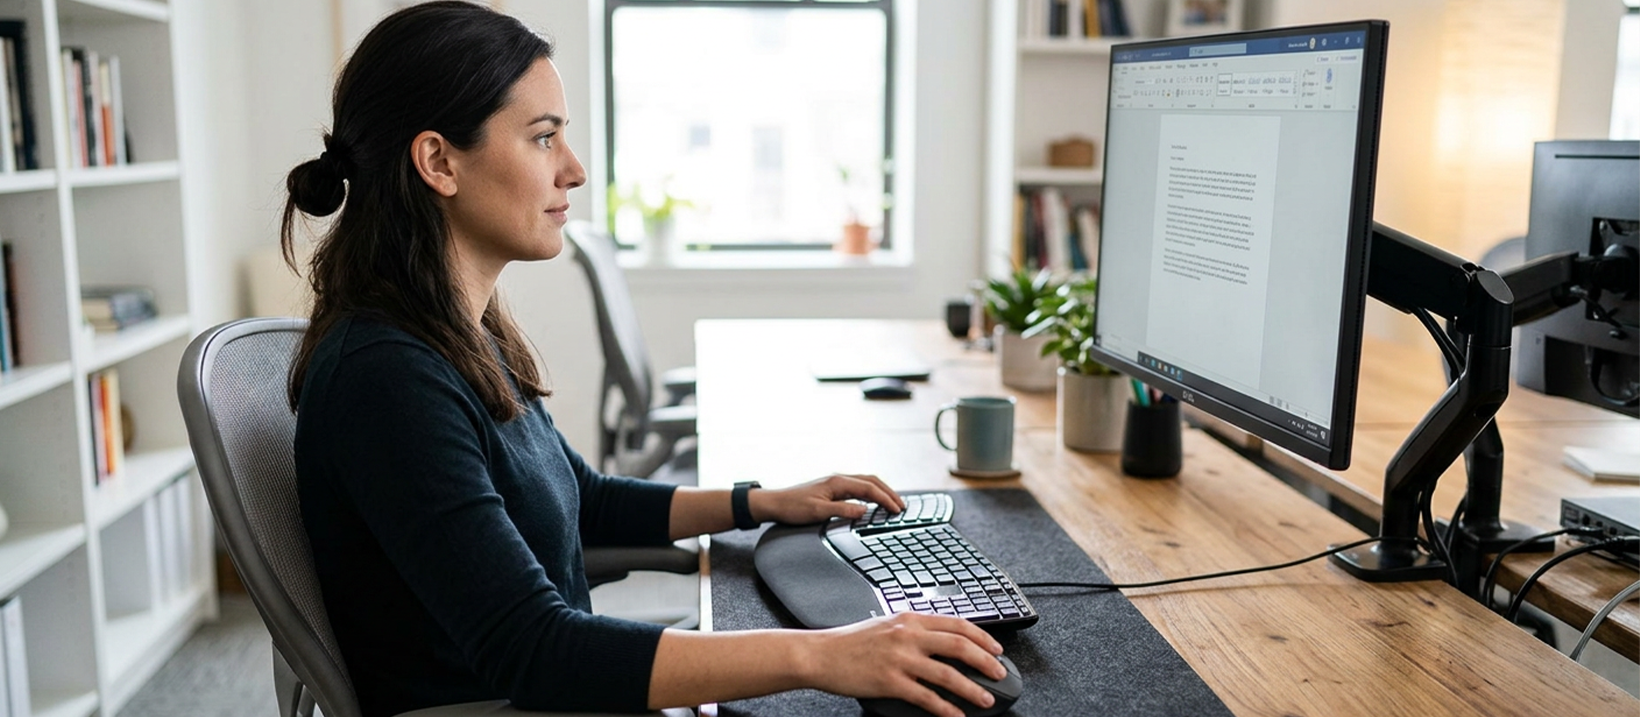
Don't overlook your mouse and keyboard - they're vital for increased productivity and better ergonomic posture.
Look down at your thighs; your keyboard should be 3-5cm above them. This probably means you'll need to use a pull-out keyboard tray or lower your desk. Ideally you should use a tray, as it allows your keyboard to be positioned with a negative tilt - down and away from you. This will position your hands and arms downwards slightly so that they run parallel to your thighs.
You'll also need to consider positioning: your mouse and keyboard should be level and shoulder distance apart.
Step 4 - Set Up Your Monitor
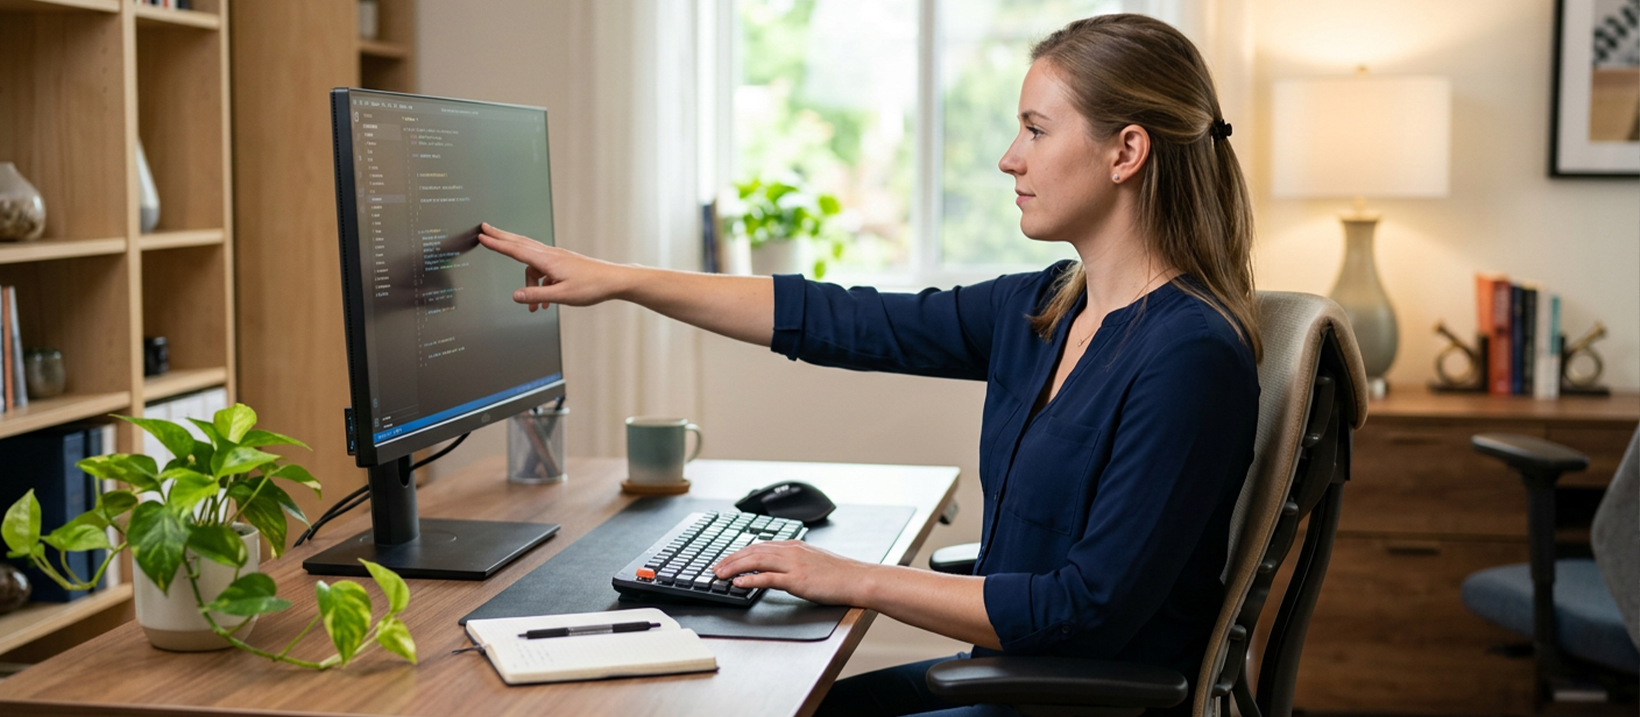
Craning your neck guarantees a killer headache, so here's where to put your screens for the best workspace setup.
Sit back and extend your arm - does the tip of your middle finger touch the screen? It should. If you're using two monitors there should be no gap between them, and you should centre the one you use the most (use both equally? Centre both). If you pan your fingers, that middle finger should always touch the monitors - that's how you know you've done it right!
Step 5 - Move, Move, Move
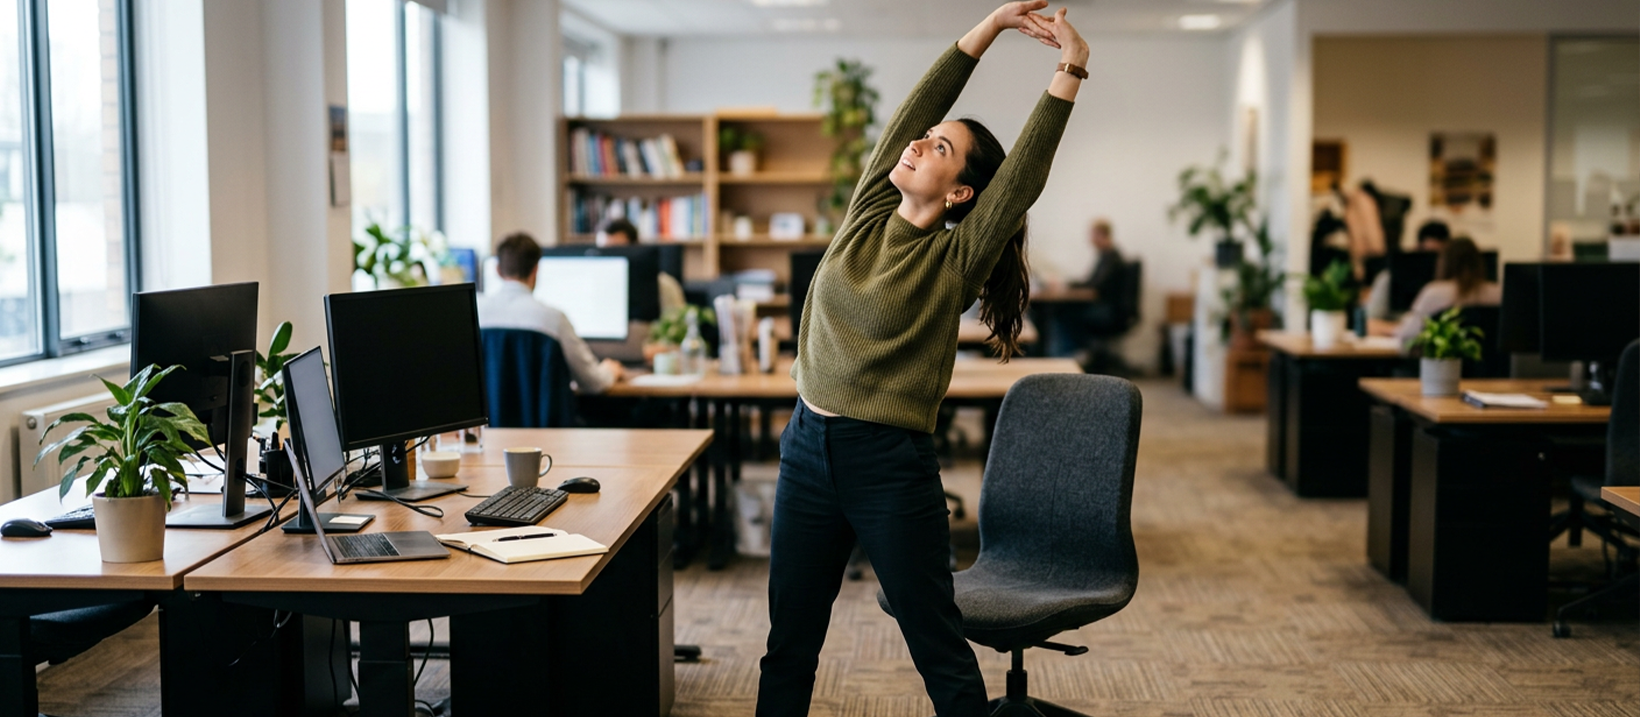
The University of Sydney's Wellbeing Coordinator says that if she could only give one piece of ergonomic advice it would be: move more.
"You can't stay in any position for extended periods. This includes both sitting and standing and, of course, lying like a banana."
Stretching your body and moving at least once per hour is essential to a pain-free workstation. So get up, grab a cuppa and waltz around your work or home office when you're feeling stiff. After all, the most important business tool you have is you!