Ultrasonic Radar
Difficulty
Test & Tools
Summary
Watch a cool radar slide across your computer screen like the old time war-movies! Use the simple ultrasonic sensor to measure distance in a rotating fashion across your workbench.
Use Arduino to make the radar and Processing GUI to display on your computer.
Materials Required
| 1 | Duinotech UNO r3 Main Board | XC4410 |
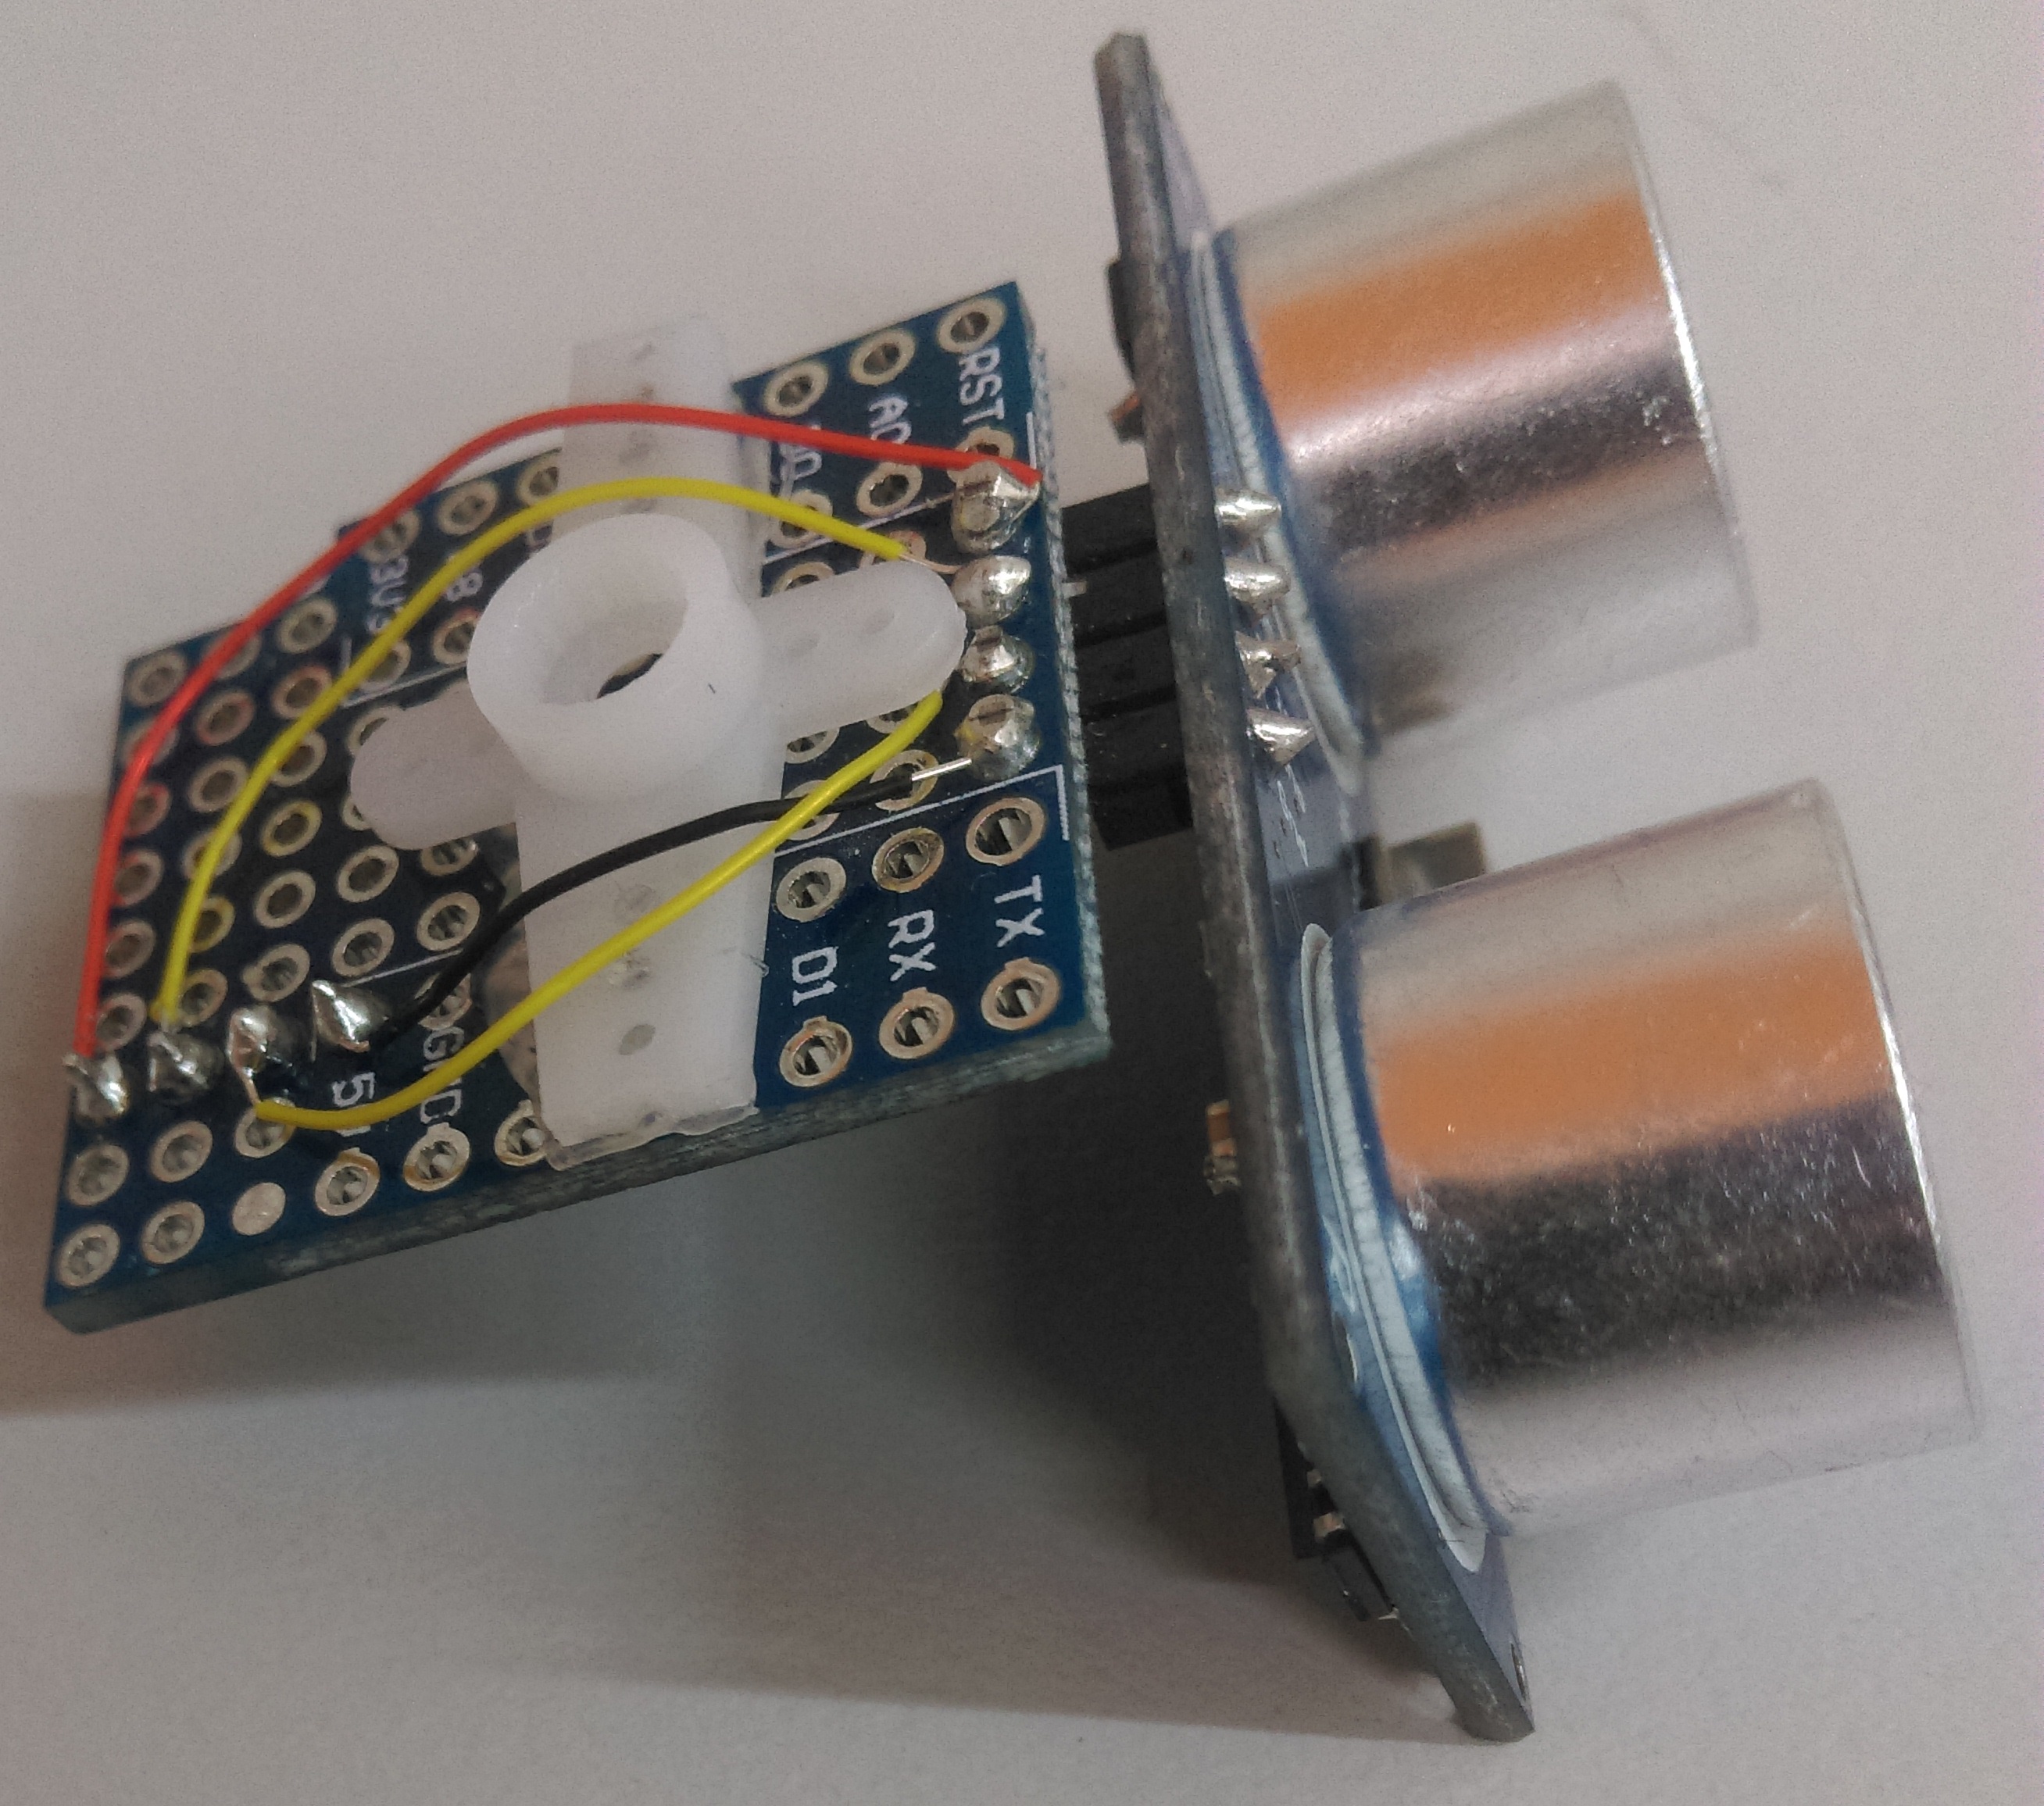
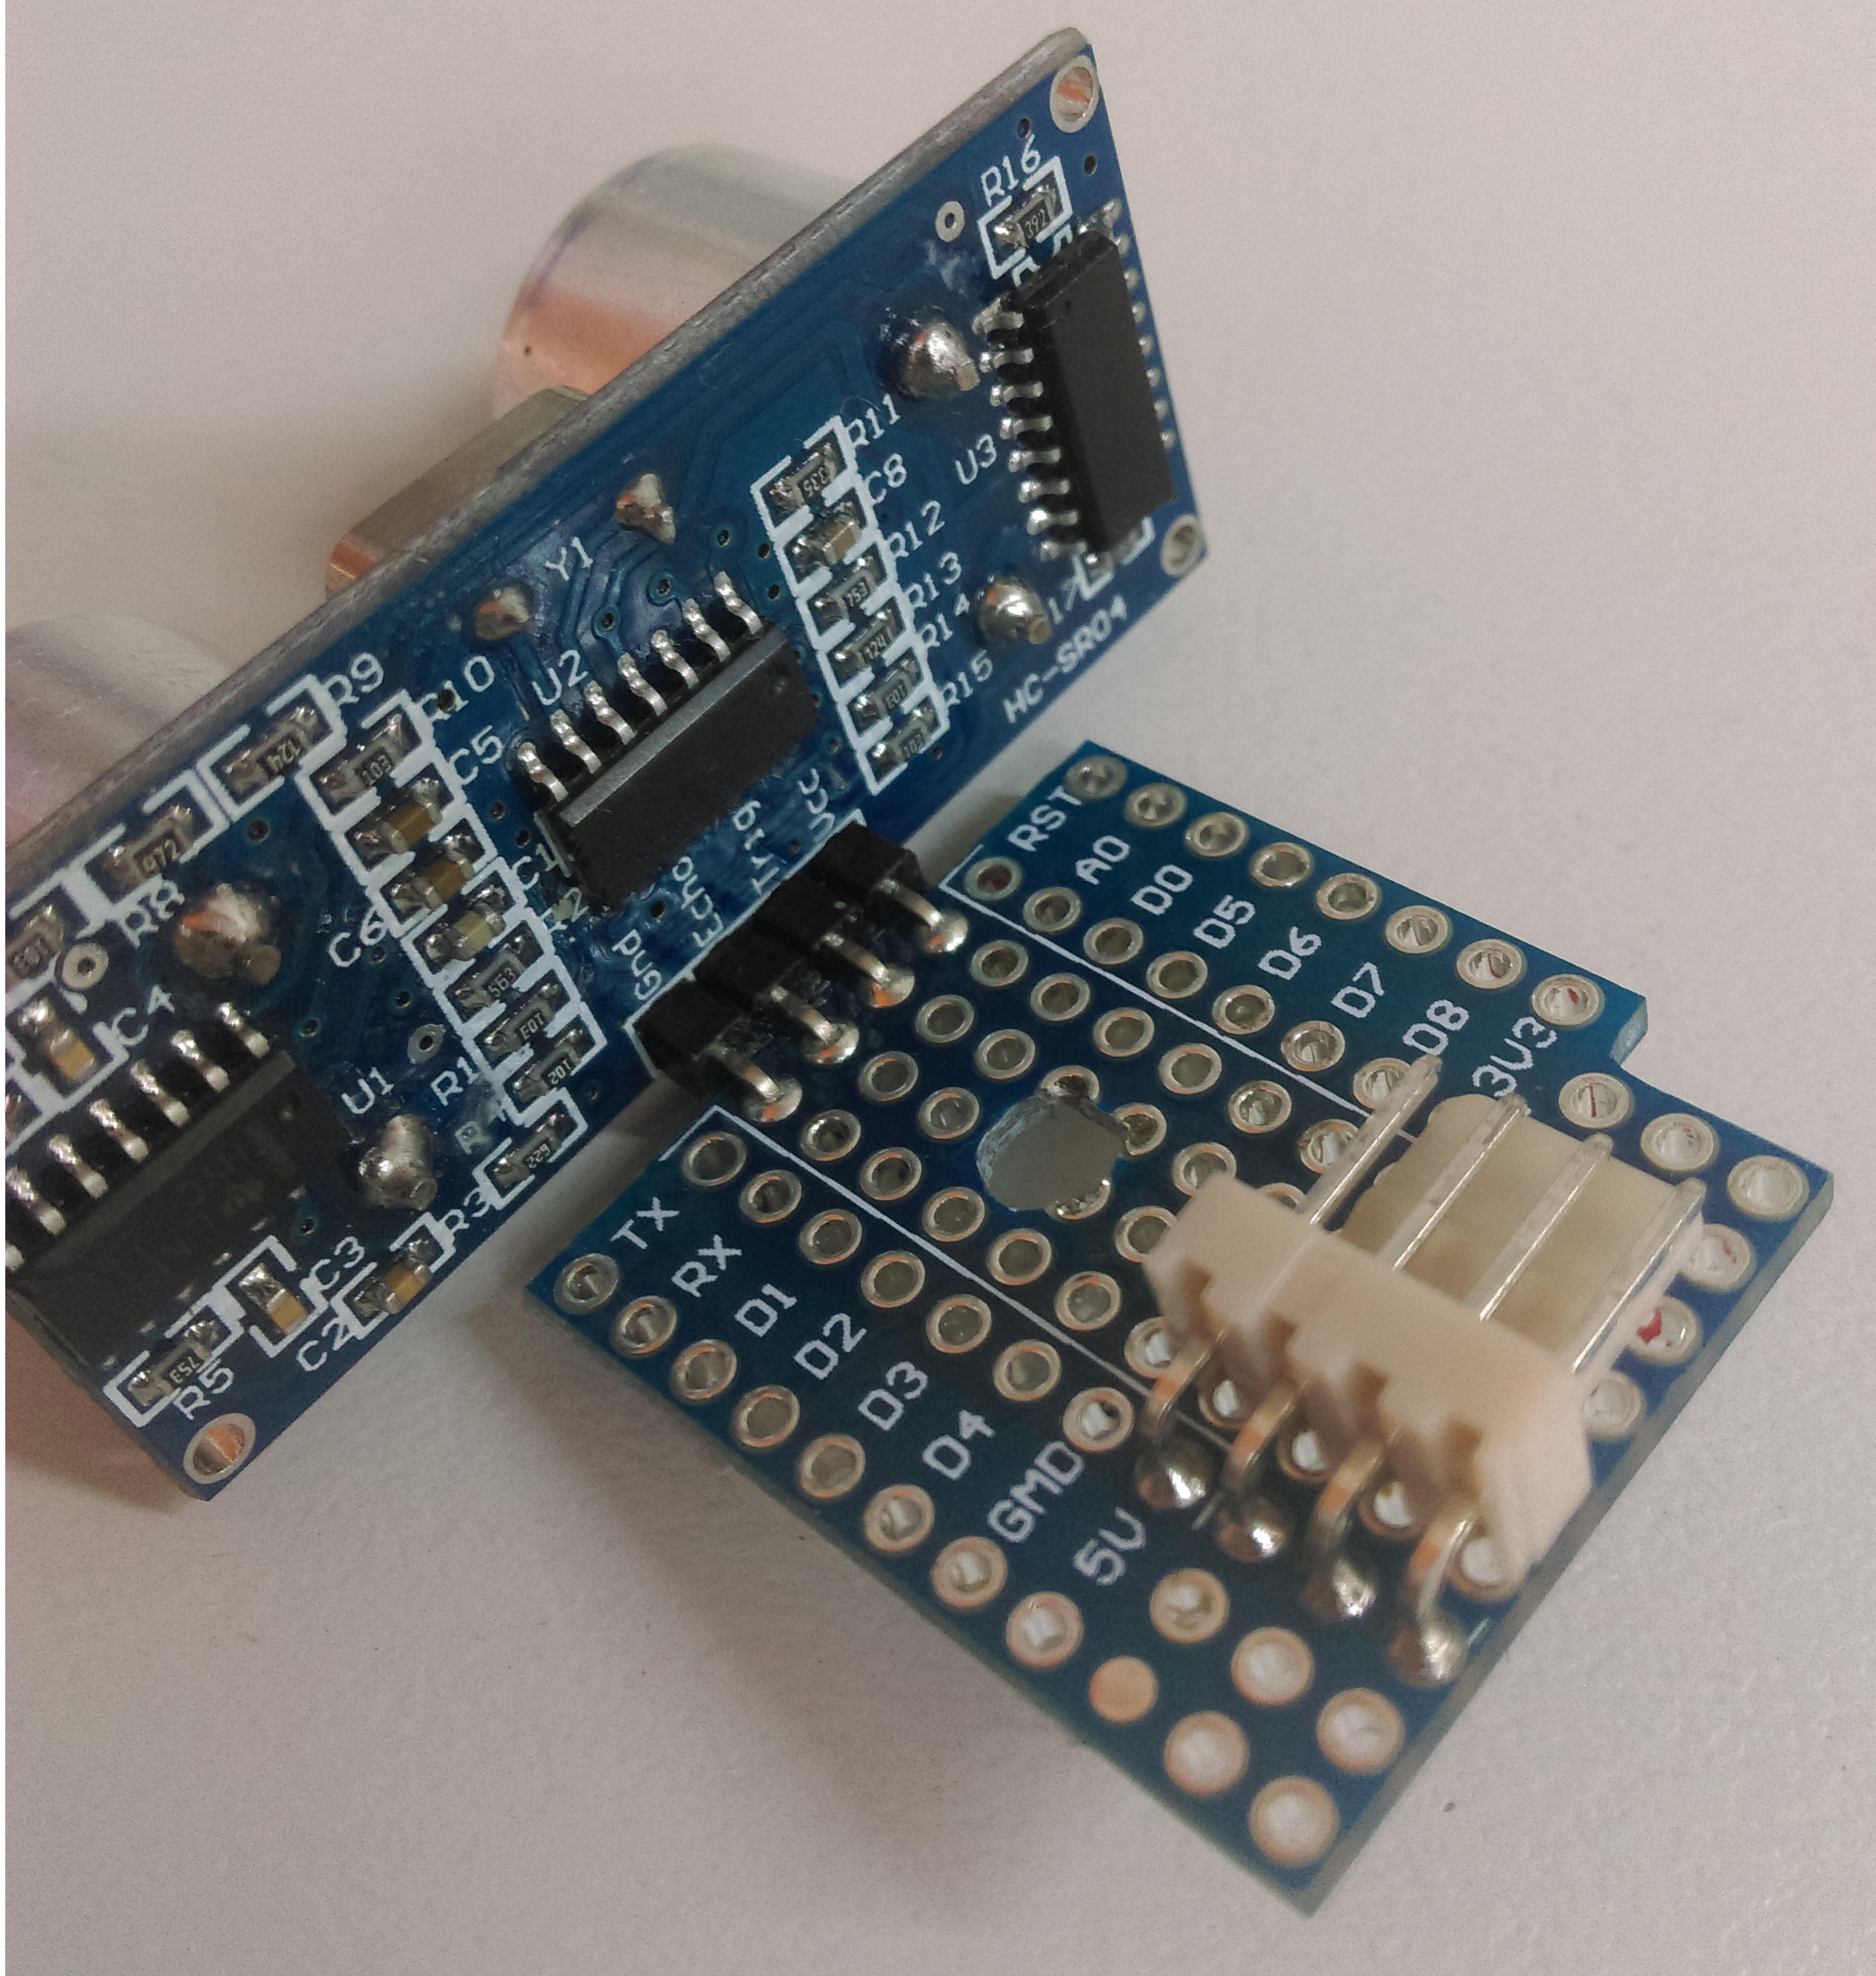
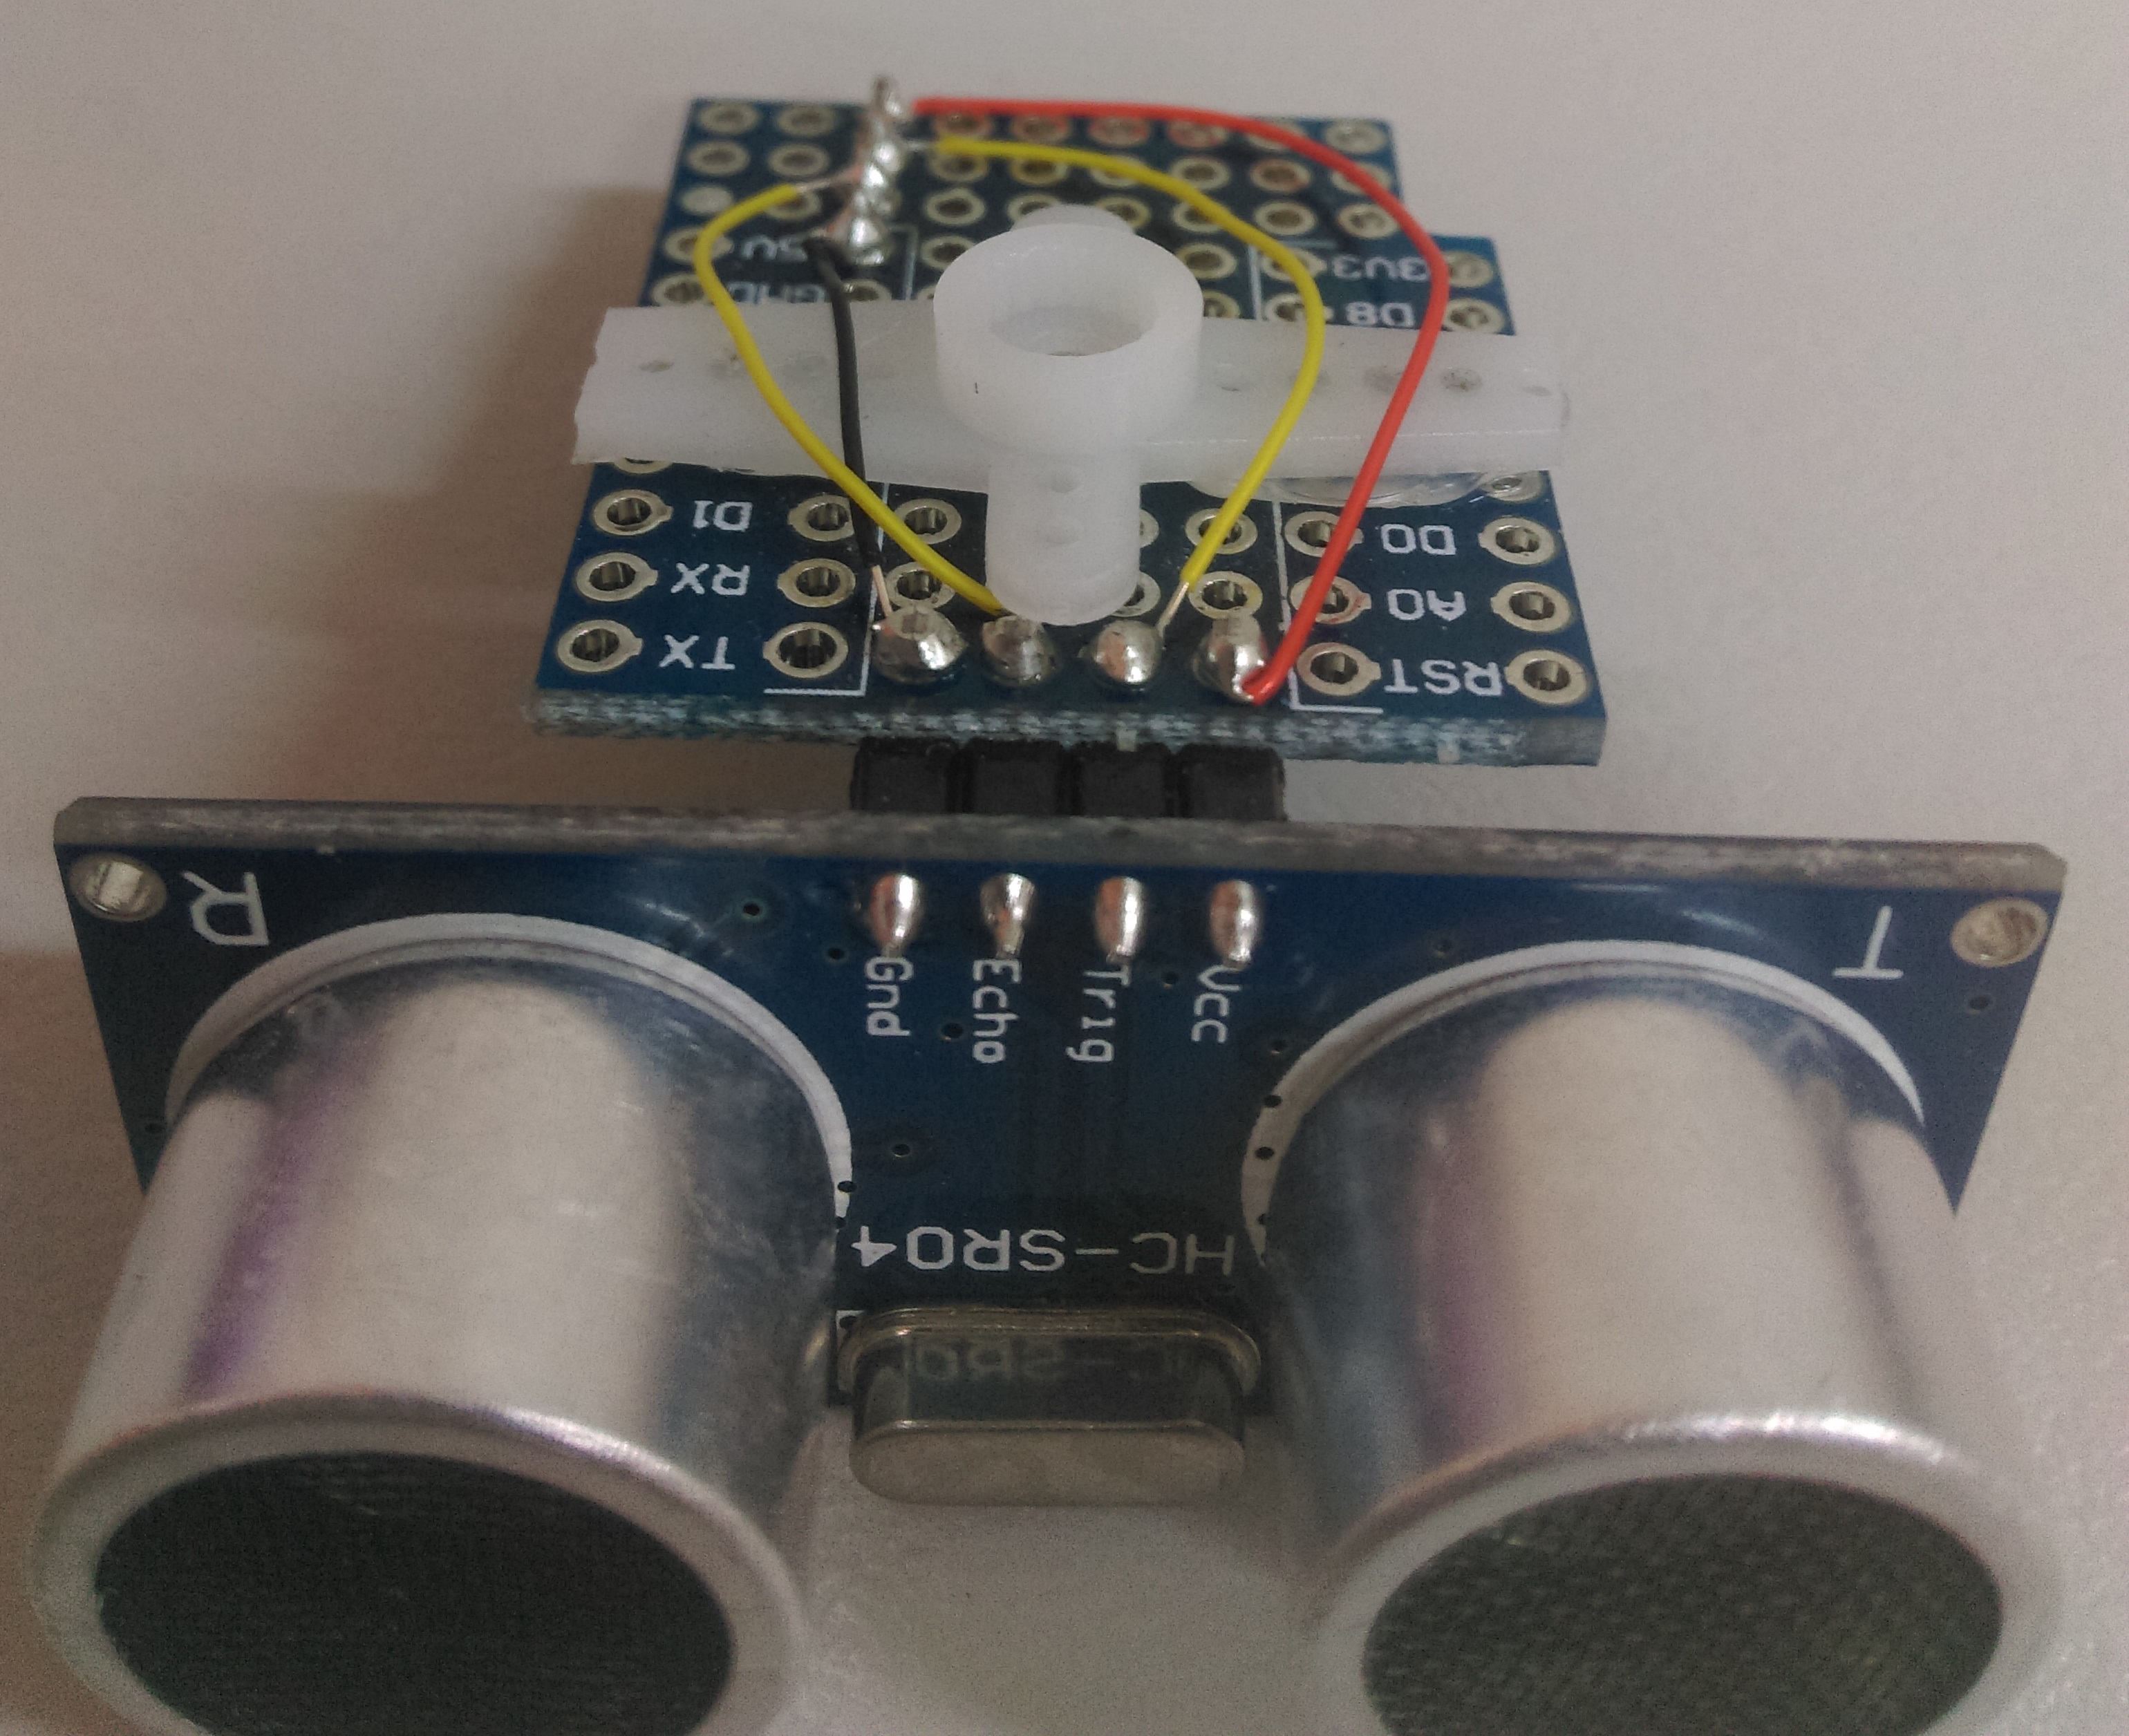
| 1 | Arduino Compatible Dual Ultrasonic Sensor Module. | XC4442 |
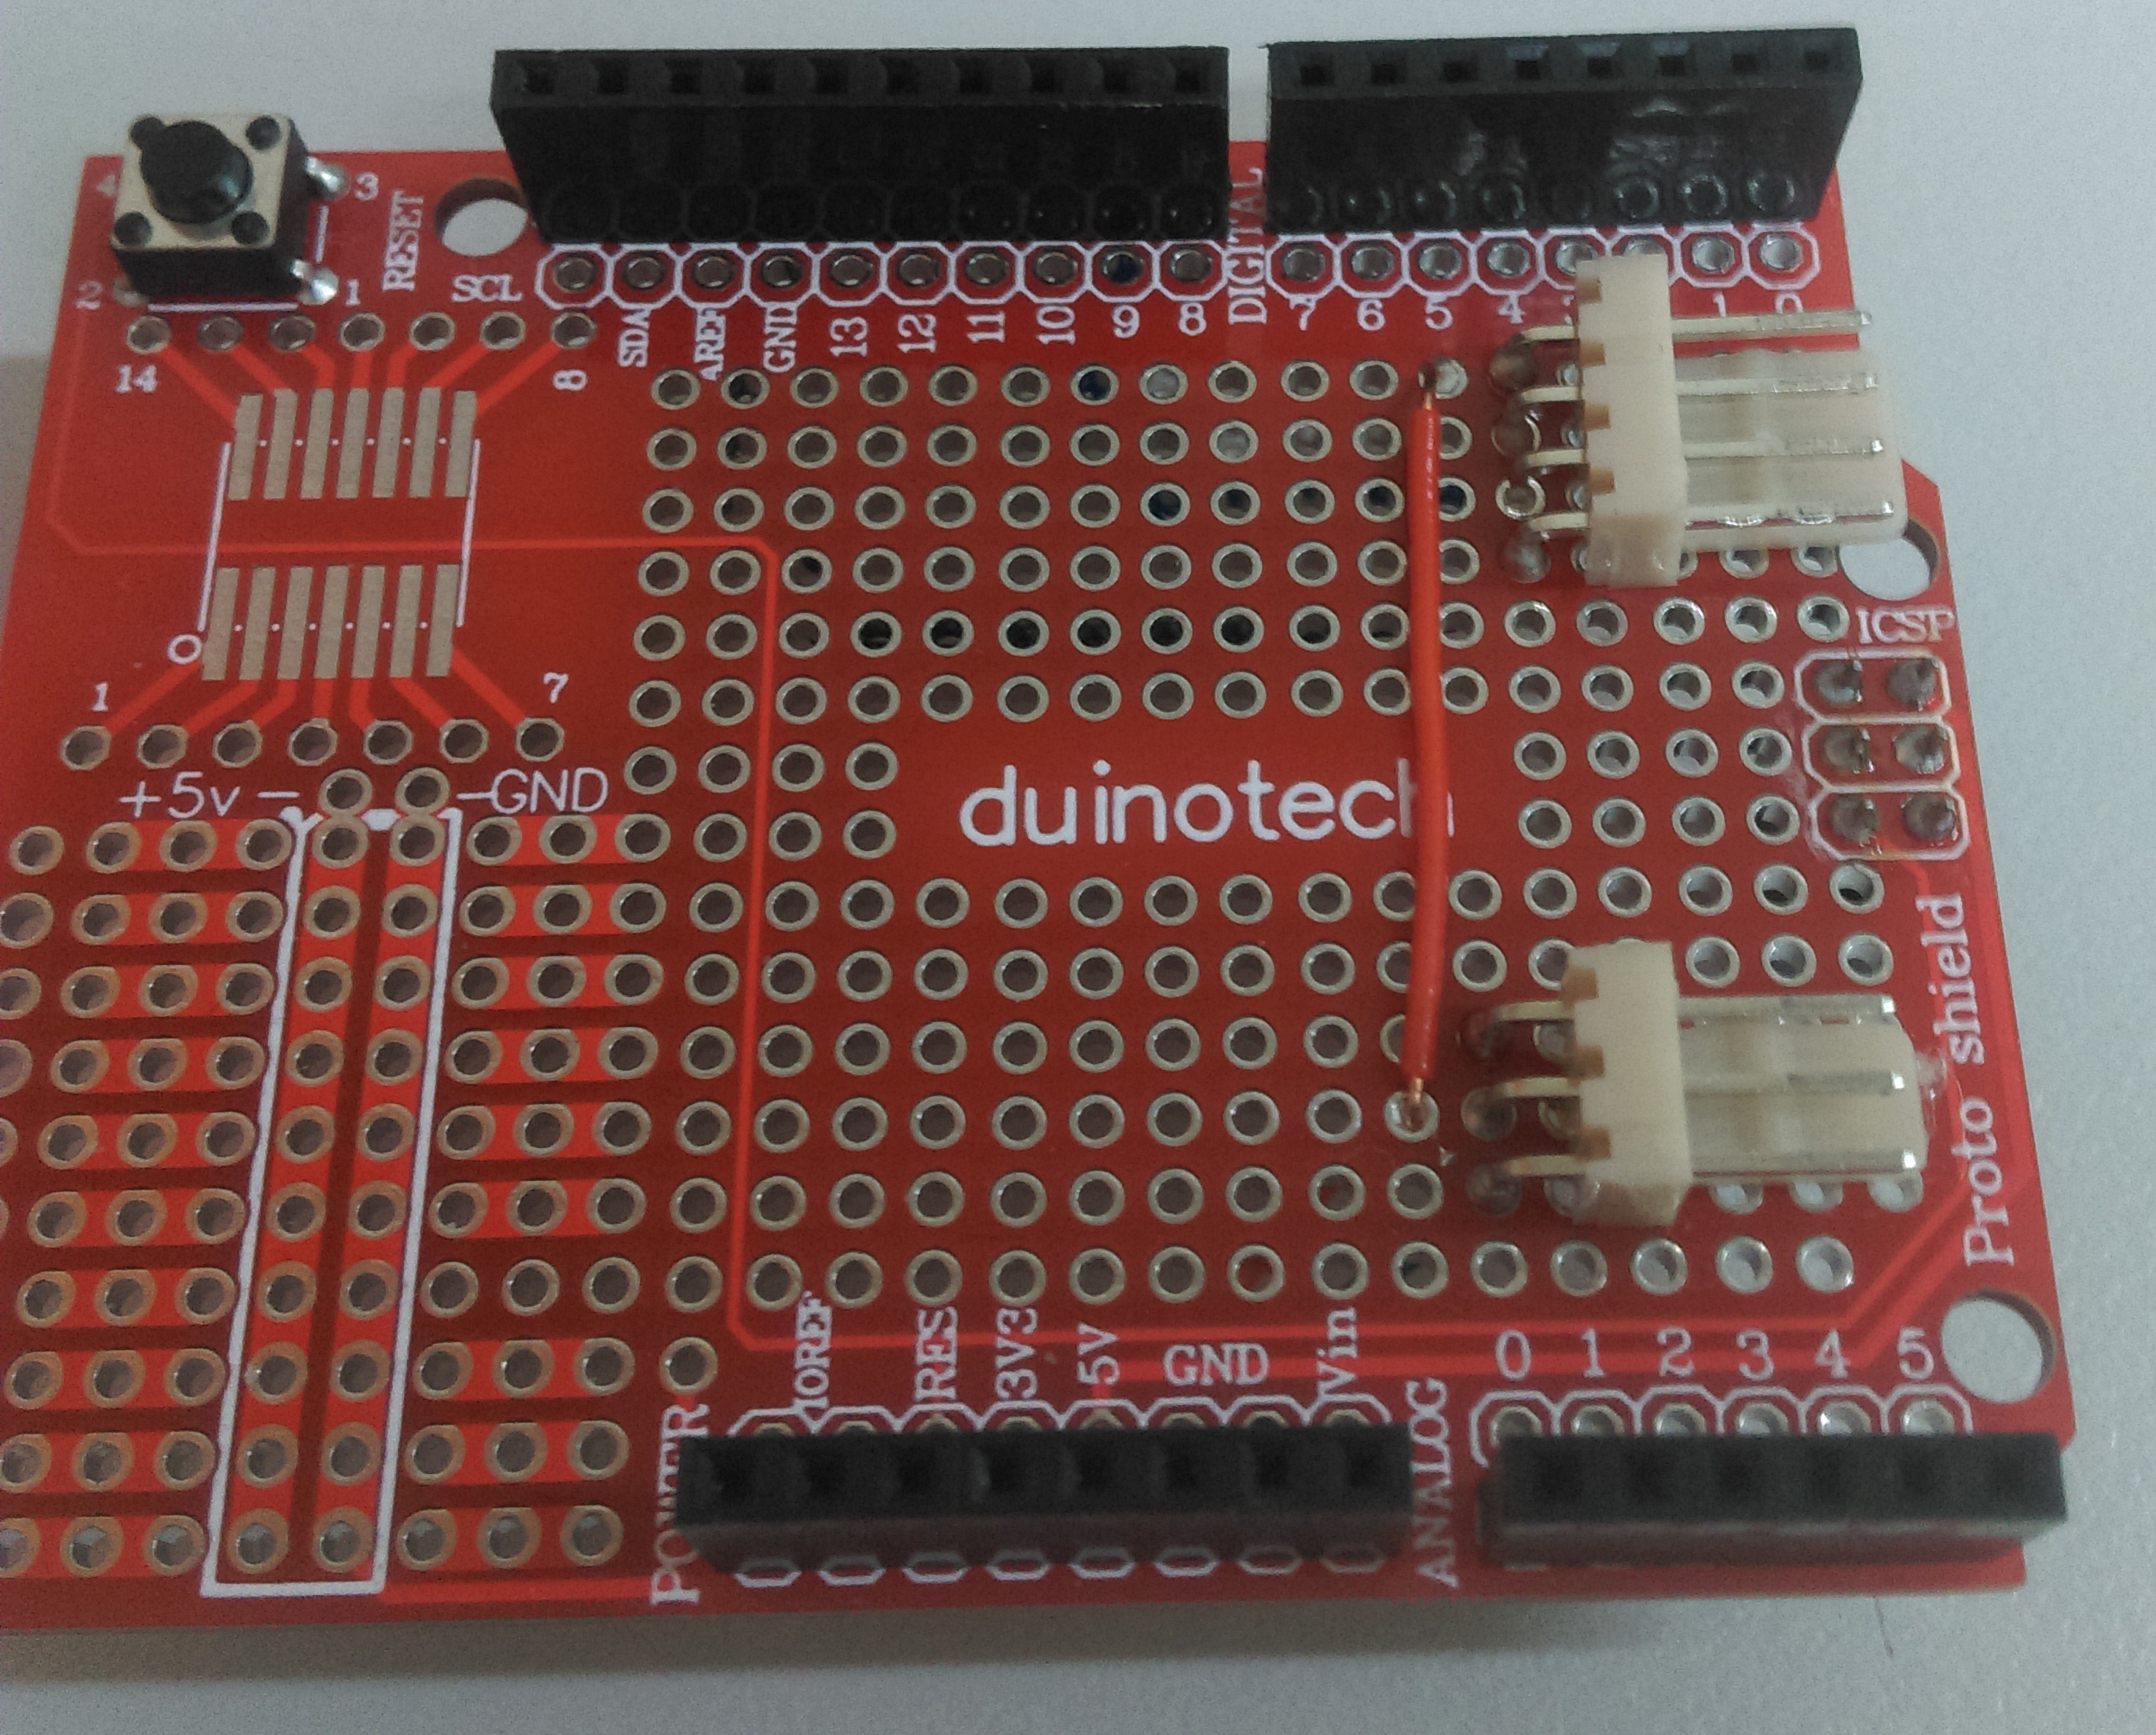
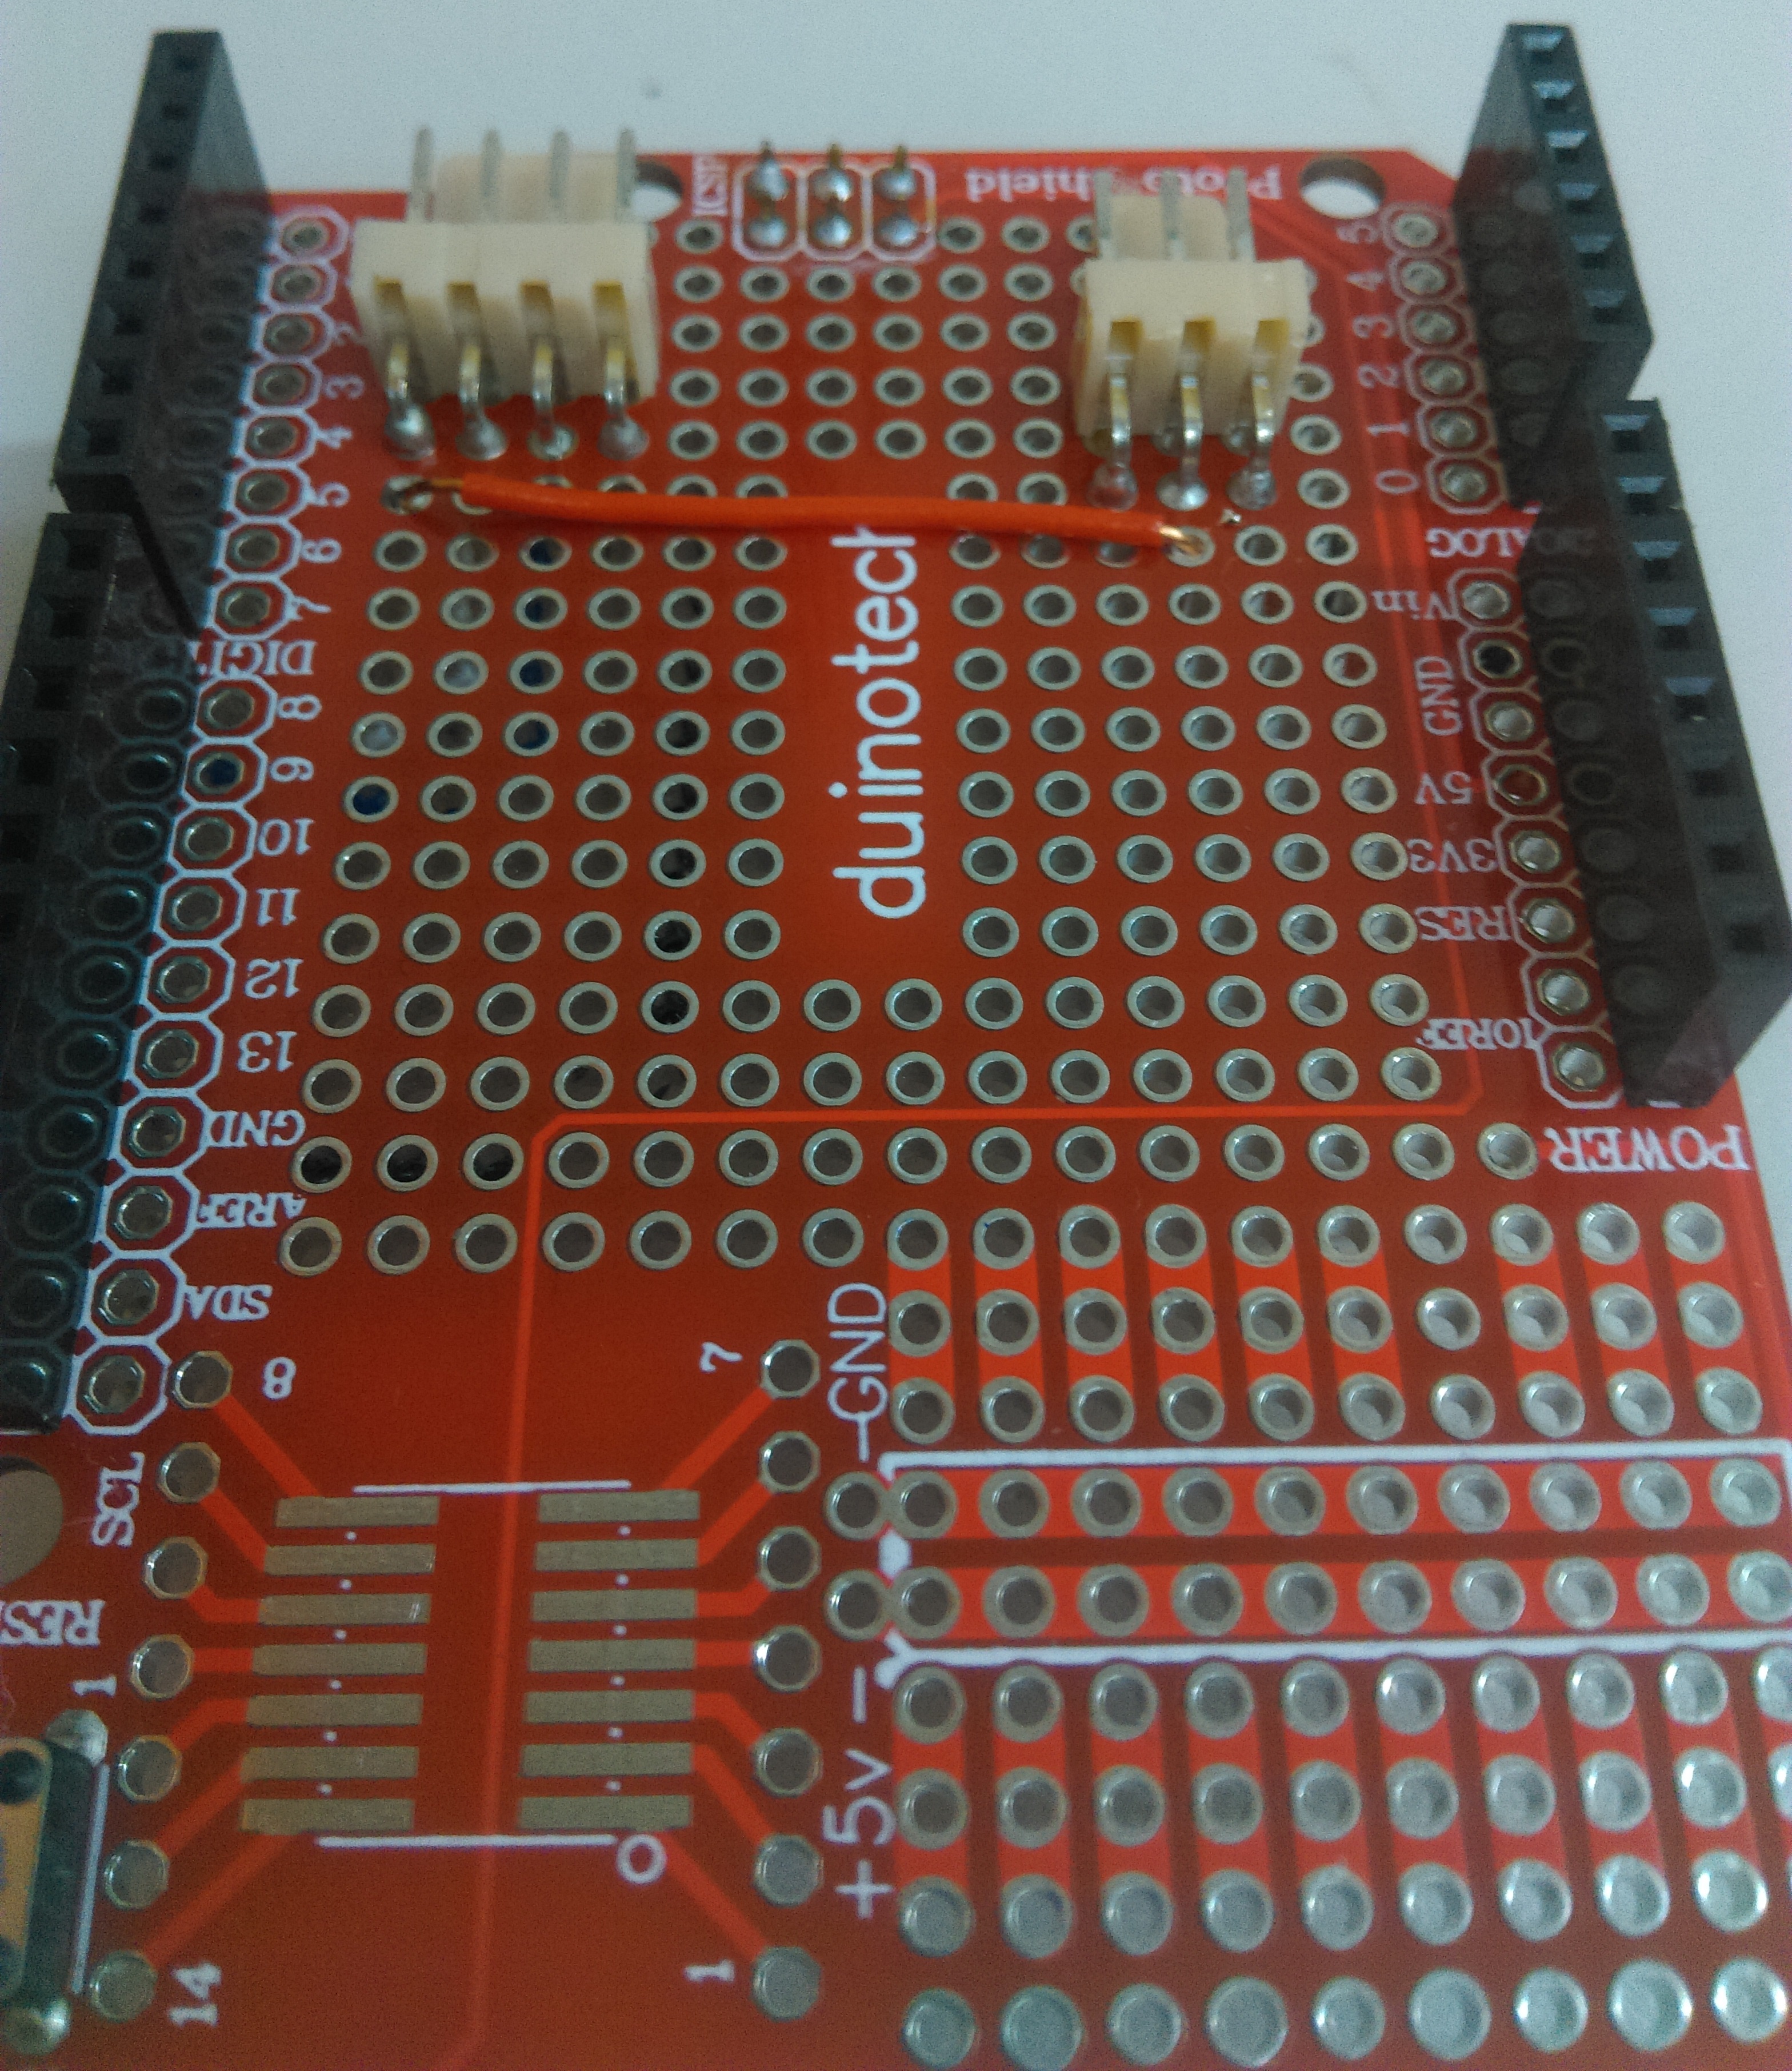
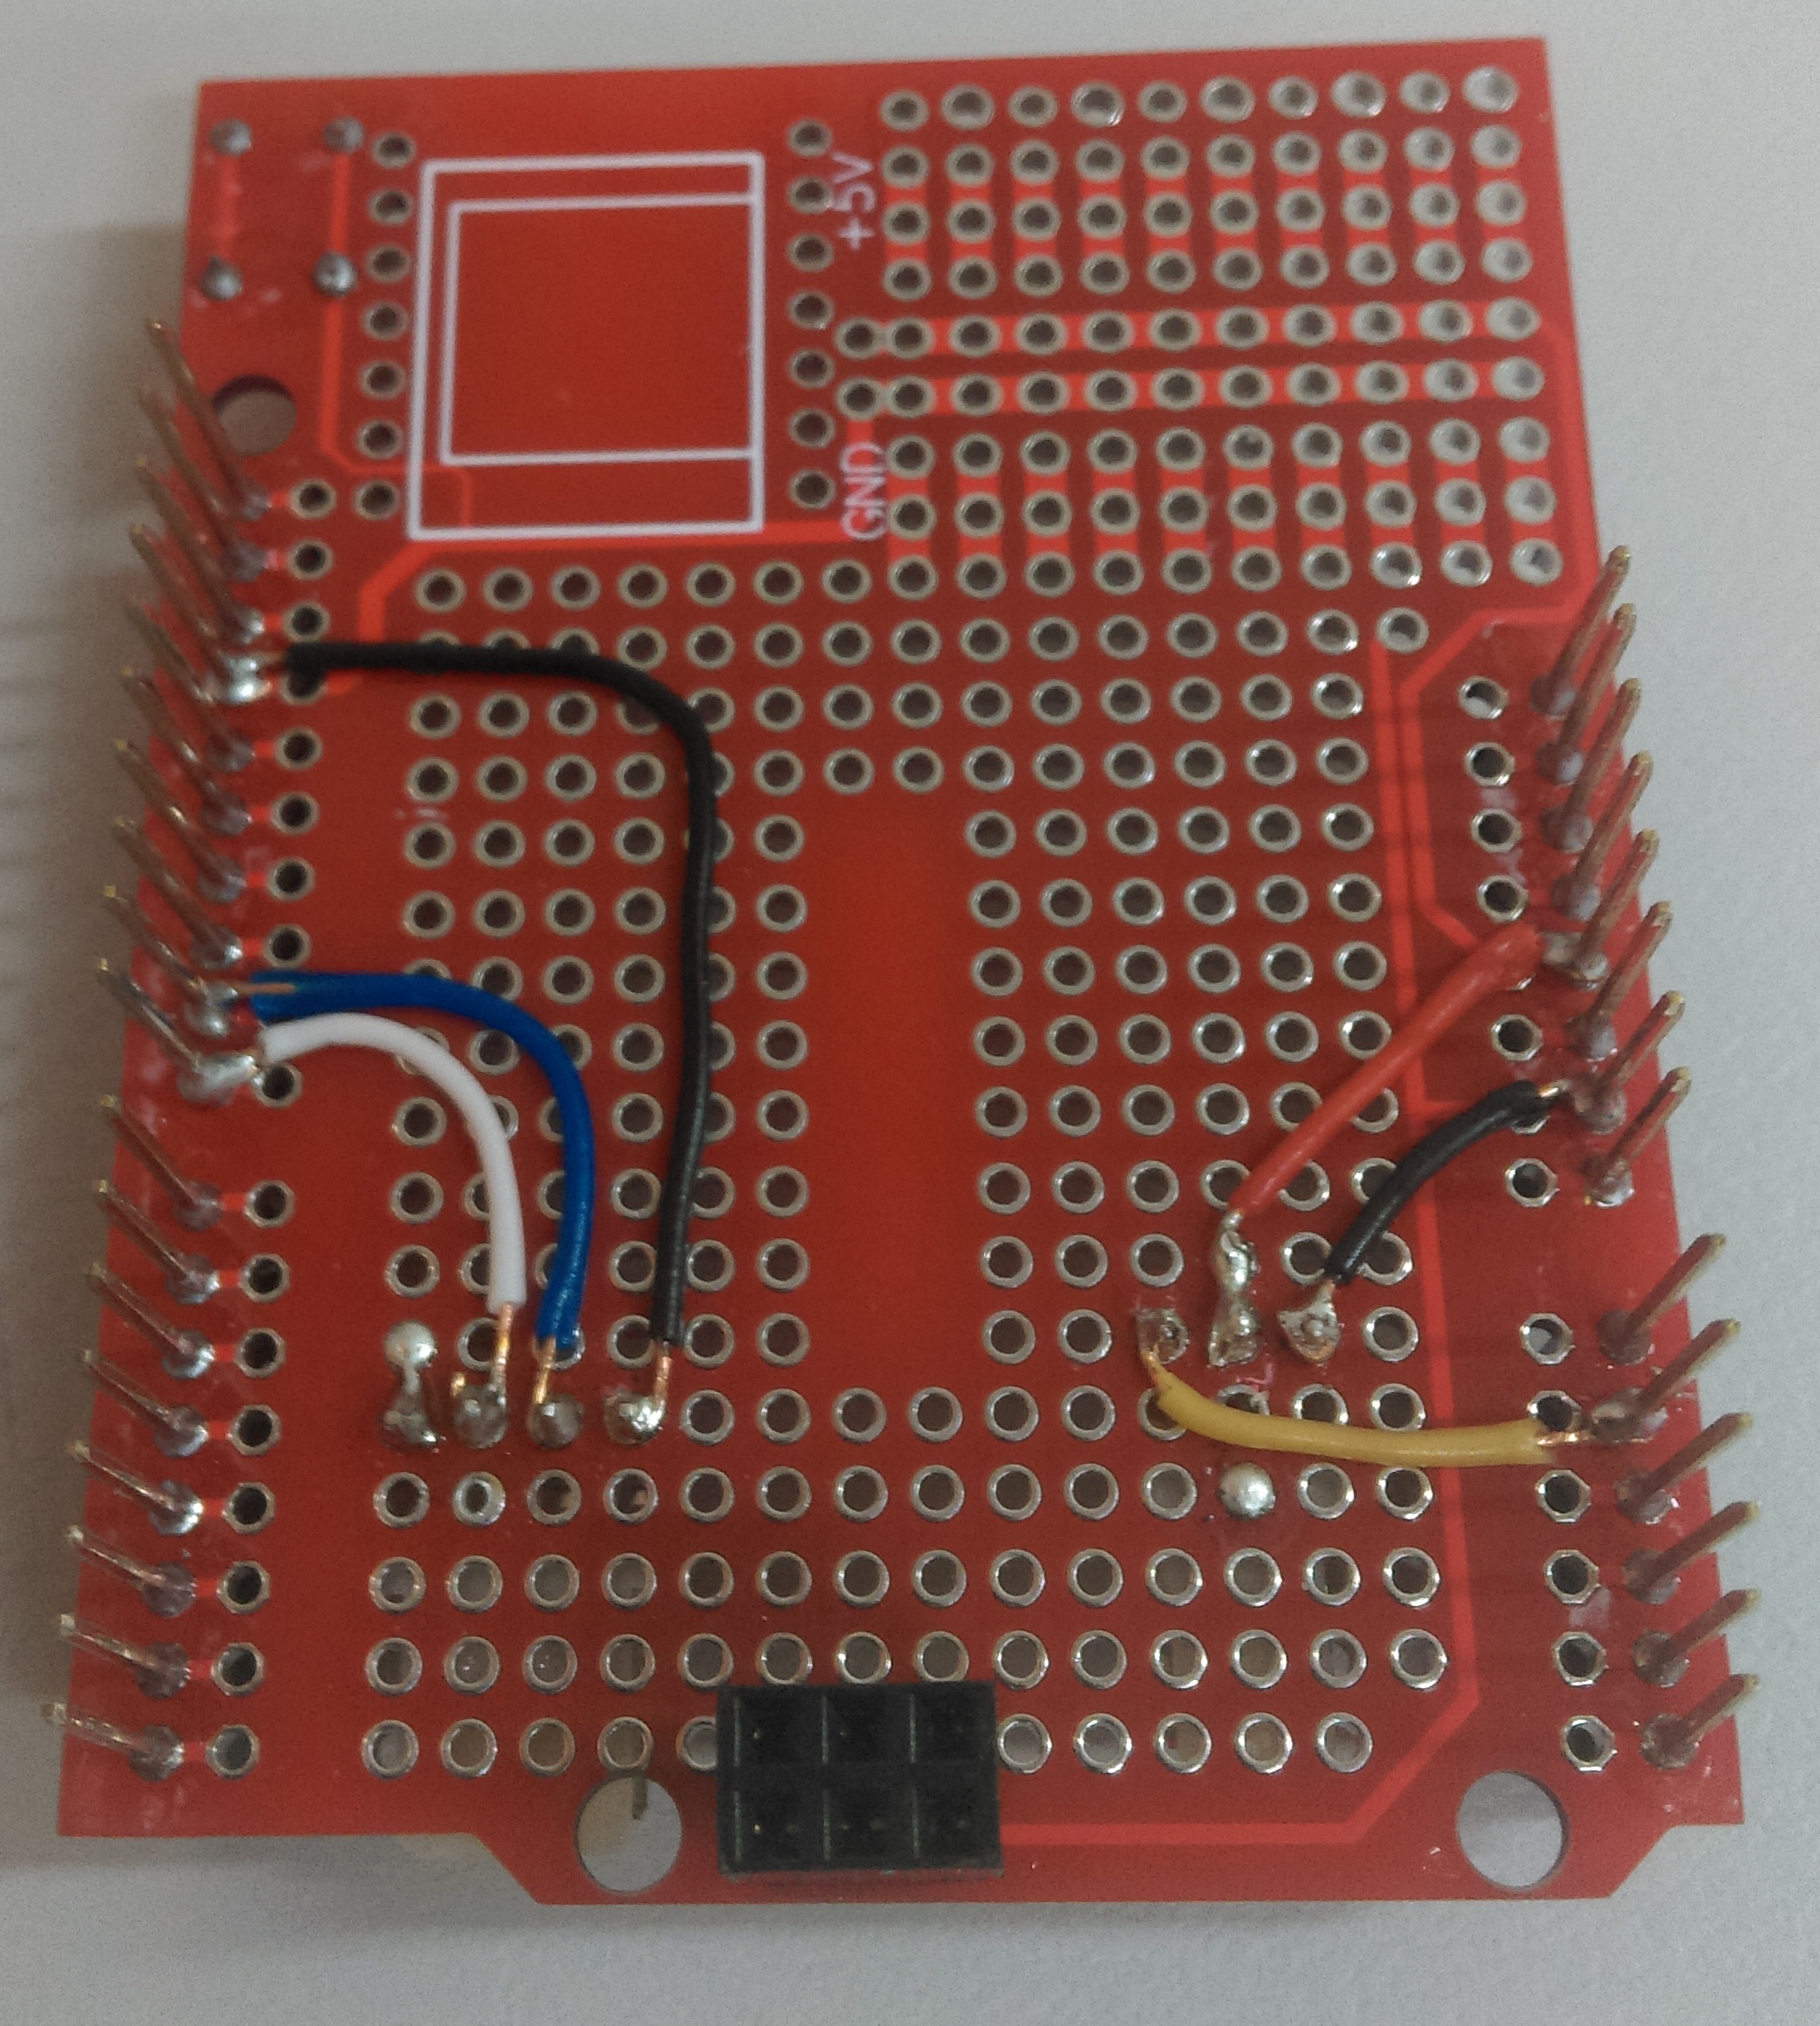
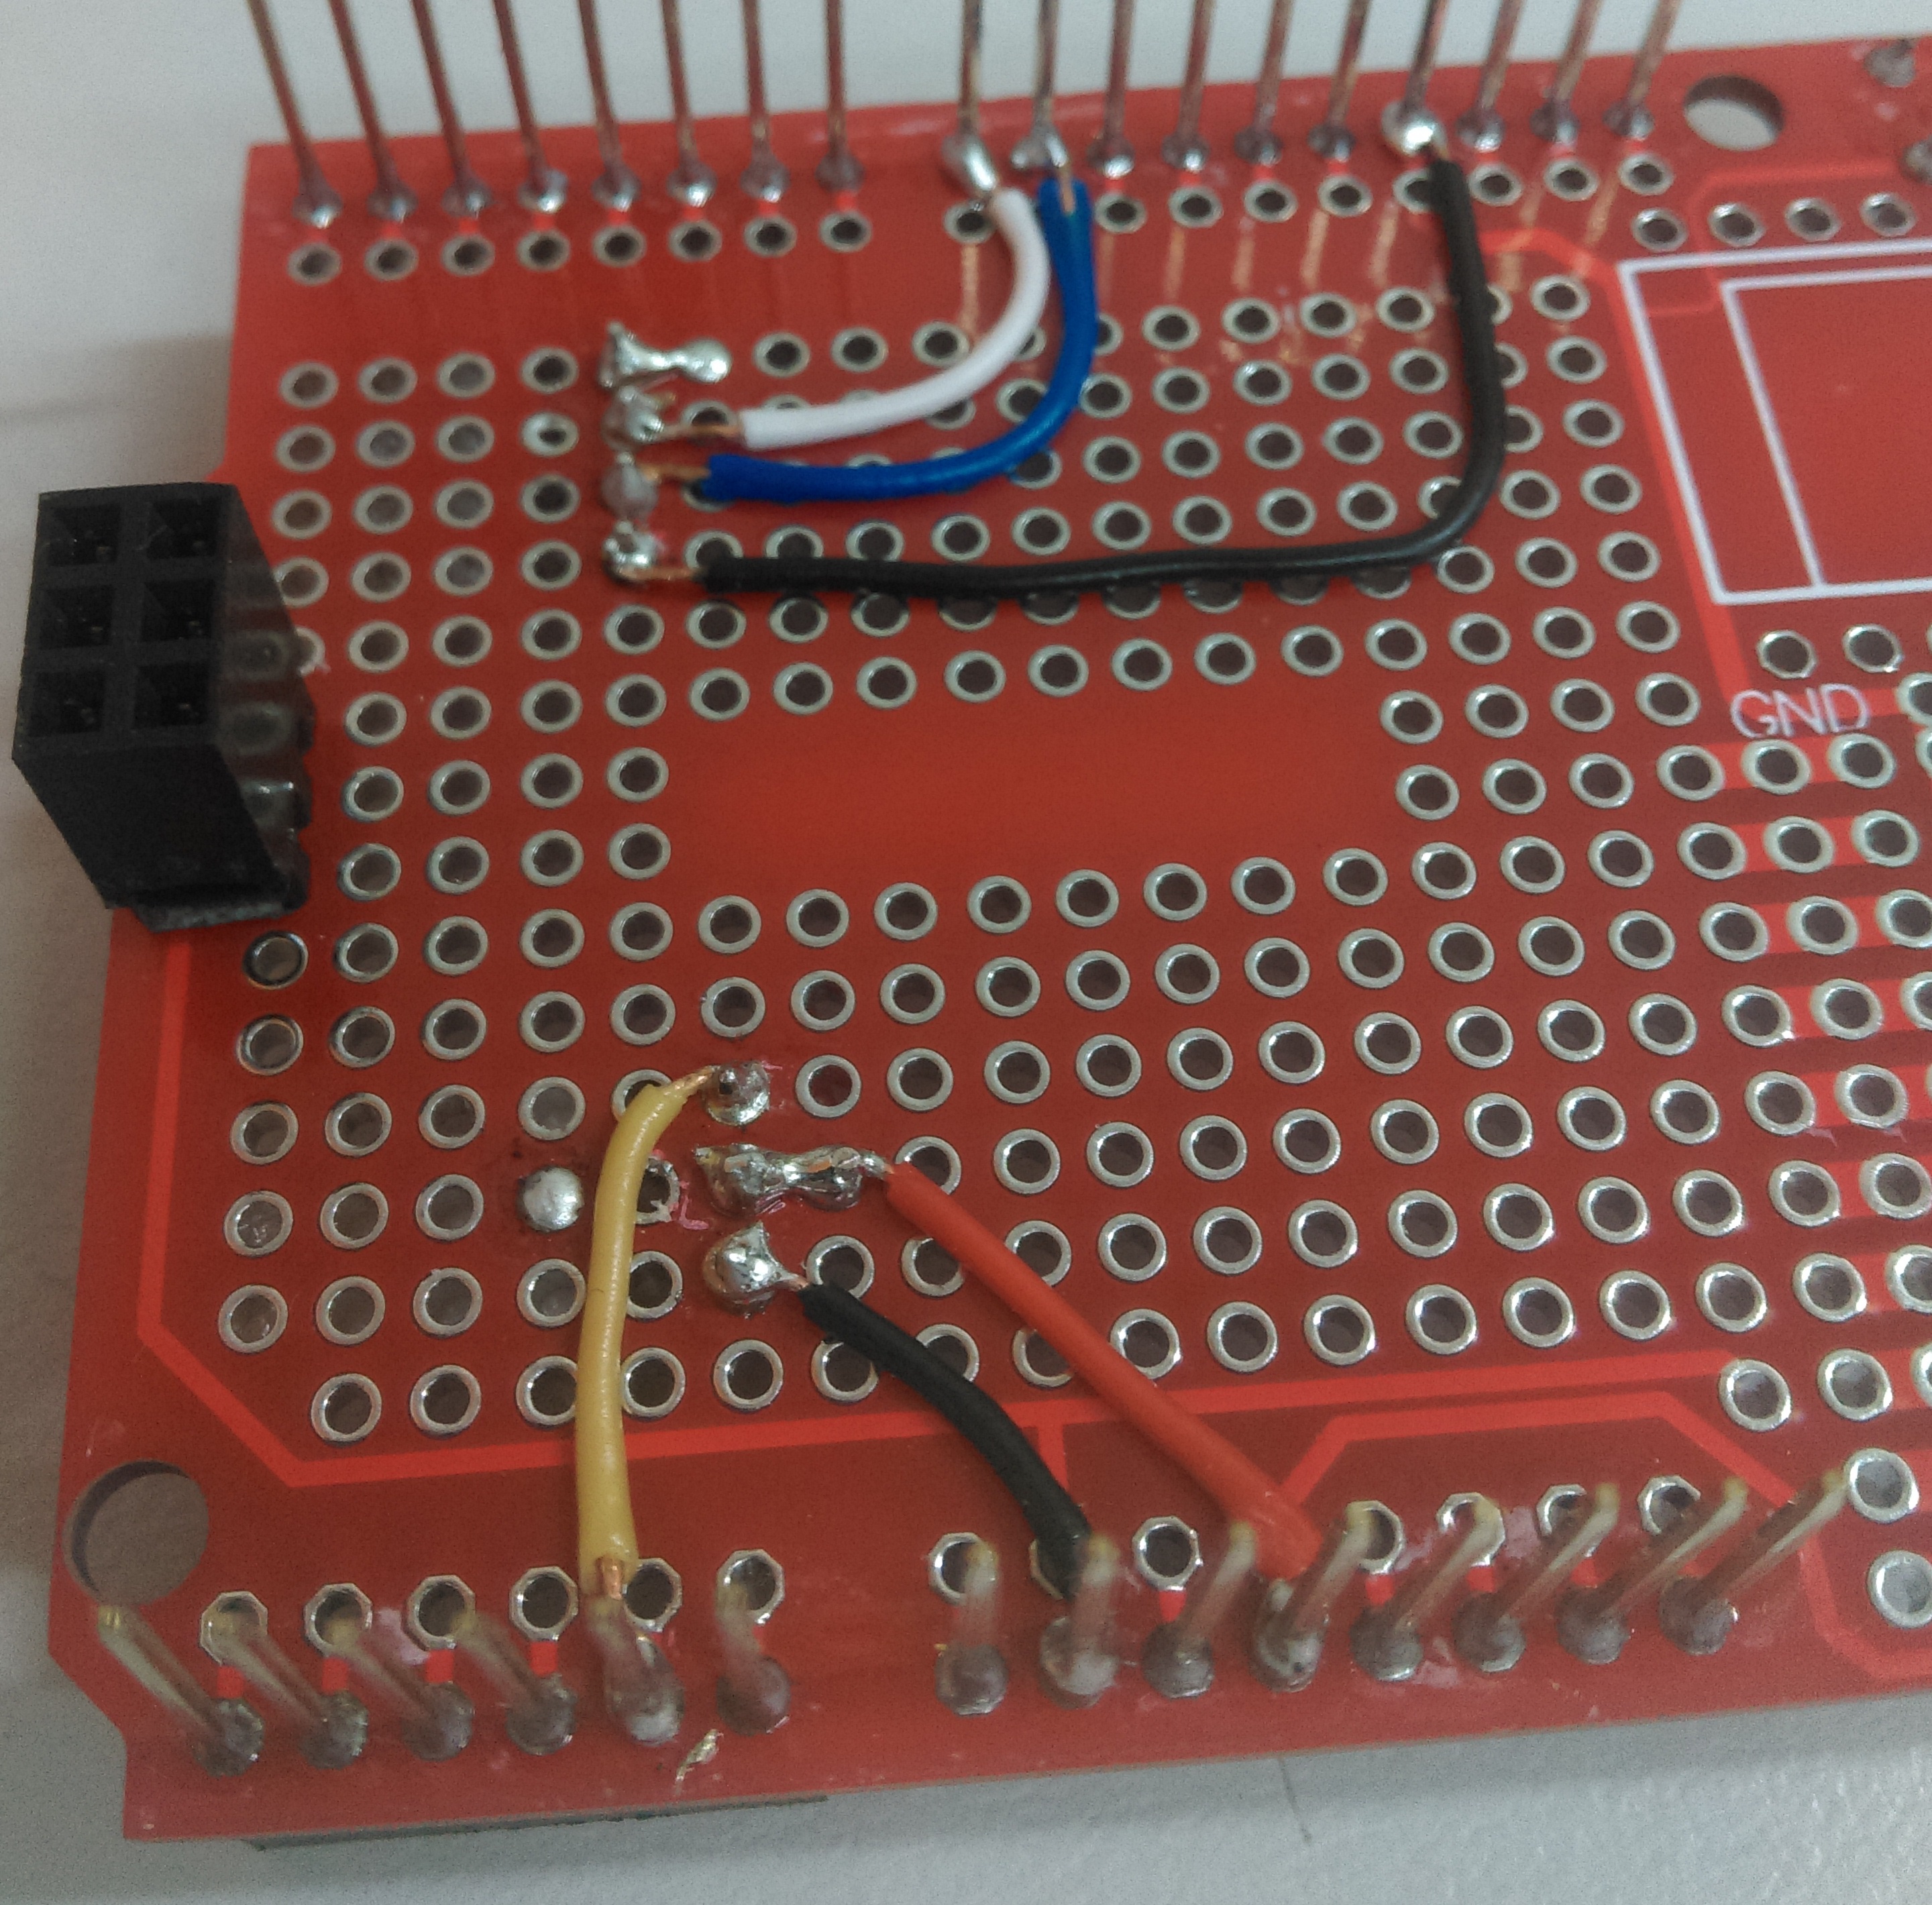
| 1 | Duinotech Arduino Compatible Prototyping Shield | XC4482 |
| 1 | Arduino Compatible 9G Micro Servo Motor | YM2758 |
| 1 | Arduino Compatible Wi-Fi Mini Prototyping Shield | XC3850 |
| 2 | 4 Pin 0.1in 90 Degree Locking Header - 2.54mm Pitch - Single | HM3424 |
| 1 | 3 Pin 0.1in 90 Degree Locking Header - 2.54mm Pitch - Single | HM3423 |
| 1 | 150mm Socket to Socket Jumper Leads - 40 Piece | WC6026 |
Resources
Table of Contents
.png?branch=prod_main)

Future Improvements
Do you have more ideas on how we can improve the radar? Submit a GitHub issue and get collaborating!
Similar projects you may be interested in