Personal Weather Station
Difficulty
TEST & TOOLS
Summary
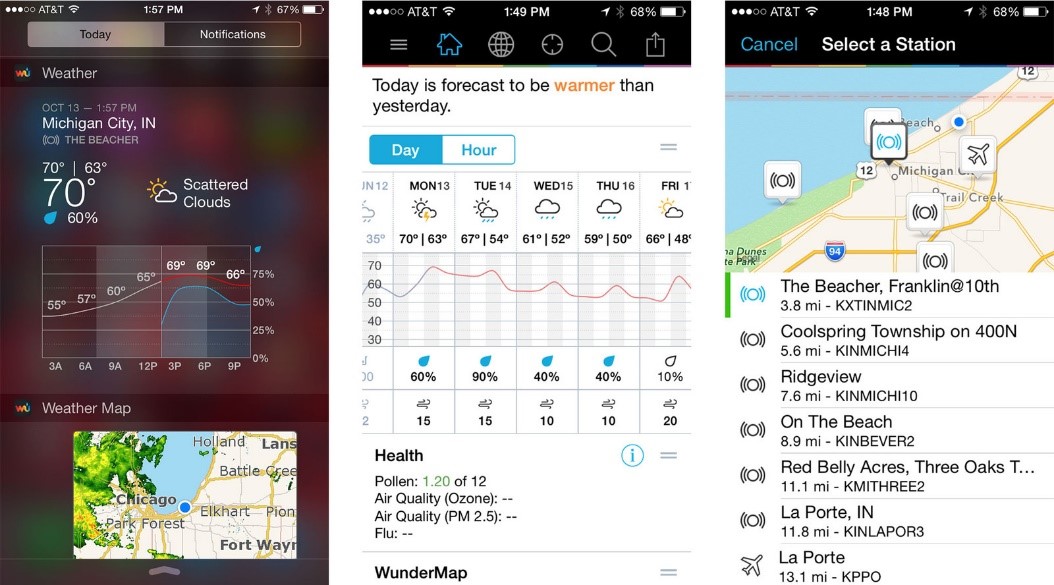
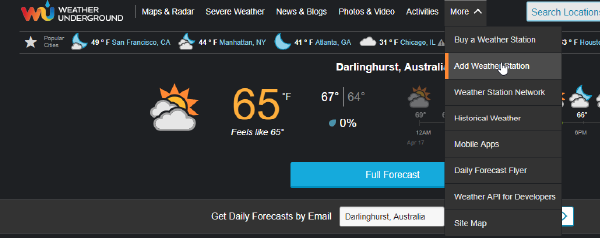
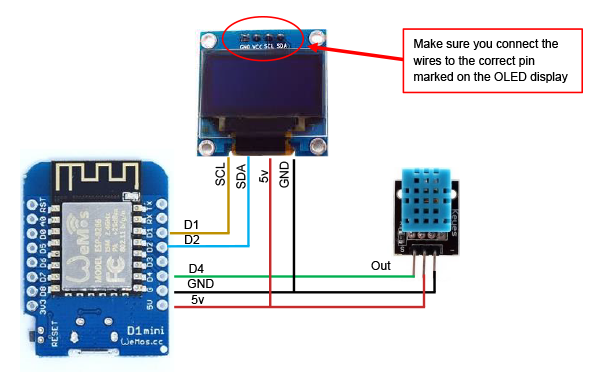
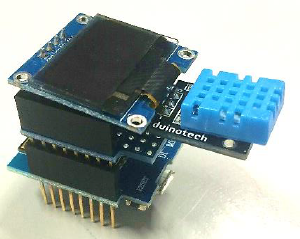
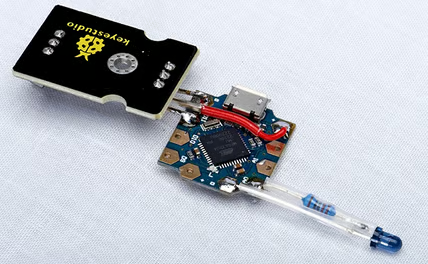
This project utilises the Temperature & Humidity sensor (XC4520), together with the ESP8266, a OLED display is included in the project to make it more useful if you want to read the temperature and humidity locally. Otherwise the display may be omitted if you just want to take environmental readings via the Weather Underground website.
Materials Required
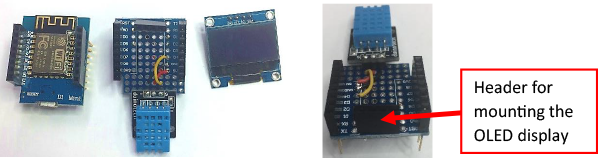
| 1 | Wi-Fi Mini ESP8266 Main Board | XC3802 |
| 1 | Arduino Compatible Wi-Fi Mini Prototyping Shield | XC3850 |
| 1 | Arduino Compatible Monochrome OLED Display Module | XC4384 |
| 1 | Arduino Compatible Temperature and Humidity Sensor Module | XC4520 |
Resources


Similar projects you may be interested in

TEST & TOOLS
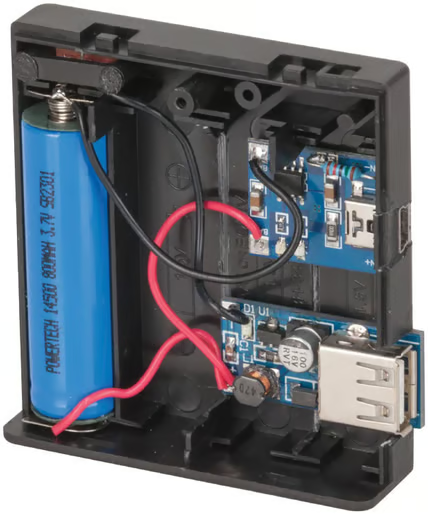
Lithium Battery USB Charger - Powering your Arduino Project
Difficulty
TEST & TOOLS
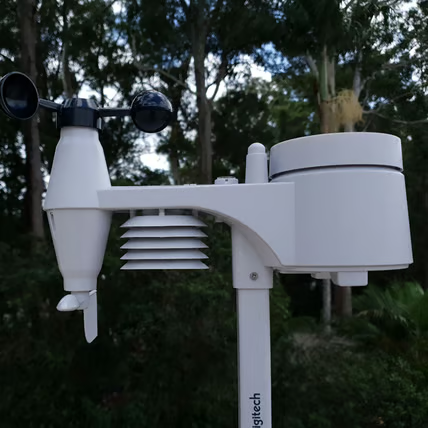
Installing and Setting Up The XC0440 Weather Station
Difficulty