Memory Gesture Game
Summary
This project is all about creating a simple game to test your memory.
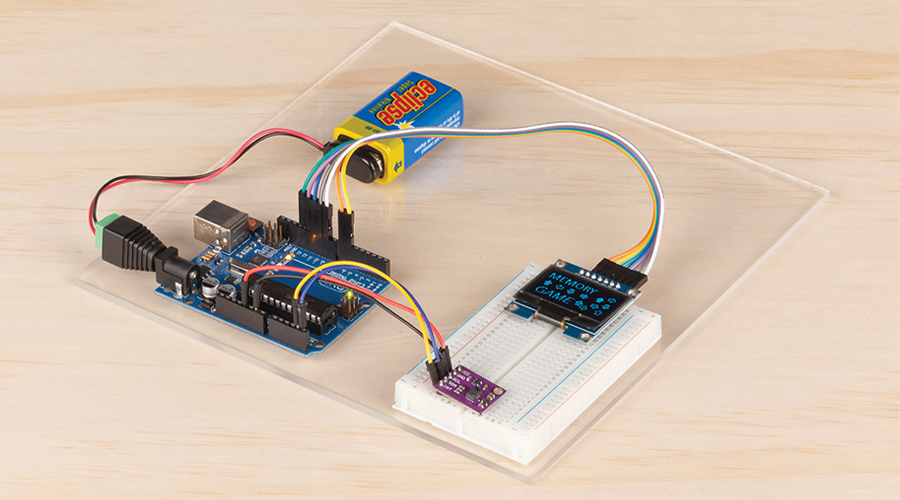
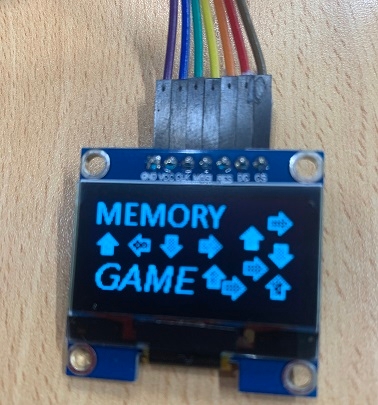
Using the well-known gesture sensor module (XC3742) and OLED Screen (XC3728) it will show patterns on the screen comprising of left, up, right, down, circle, and wave; try to match the patterns with your own hand! First level is short and easy to follow but it will get progressively faster and more complicated as you advance through the levels.
Play this game with your friends and see how far you can get.
The last four parts in the list below are optional but recommended if you want to make this game more featureful. Although, if you're going to add some extra features, it might be best to use a bigger microcontroller, as the Atmel 328p is nearing it's size in this project.
Materials Required
| 1 | Duinotech UNO r3 Main Board | XC4410 |
| 1 | Duinotech Arduino Compatible 1.3 Inch Monochrome OLED Display | XC3728 |
| 1 | Duinotech Arduino Compatible Hand Gesture Sensor | XC3742 |
| 1 | 150mm Plug to Socket Jumper Leads - 40 Pieces | WC6028 |
| 1 | Duinotech Arduino Compatible Active Buzzer Module | XC4424 |
| 1 | Arduino Compatible WS2812B RGB LED Circular Strip | XC4385 |
| 1 | Arduino Compatible 8-Digit 7-Segment Display | XC3714 |
| 1 | Arduino Compatible MP3 Audio Player with Button Controls | XC3748 |
.png)
Similar projects you may be interested in