
1/5
On special
$99.00$139.00
Save $40.00Hurry! Offer expires in 12 days
Store
Choose a store for stock availability
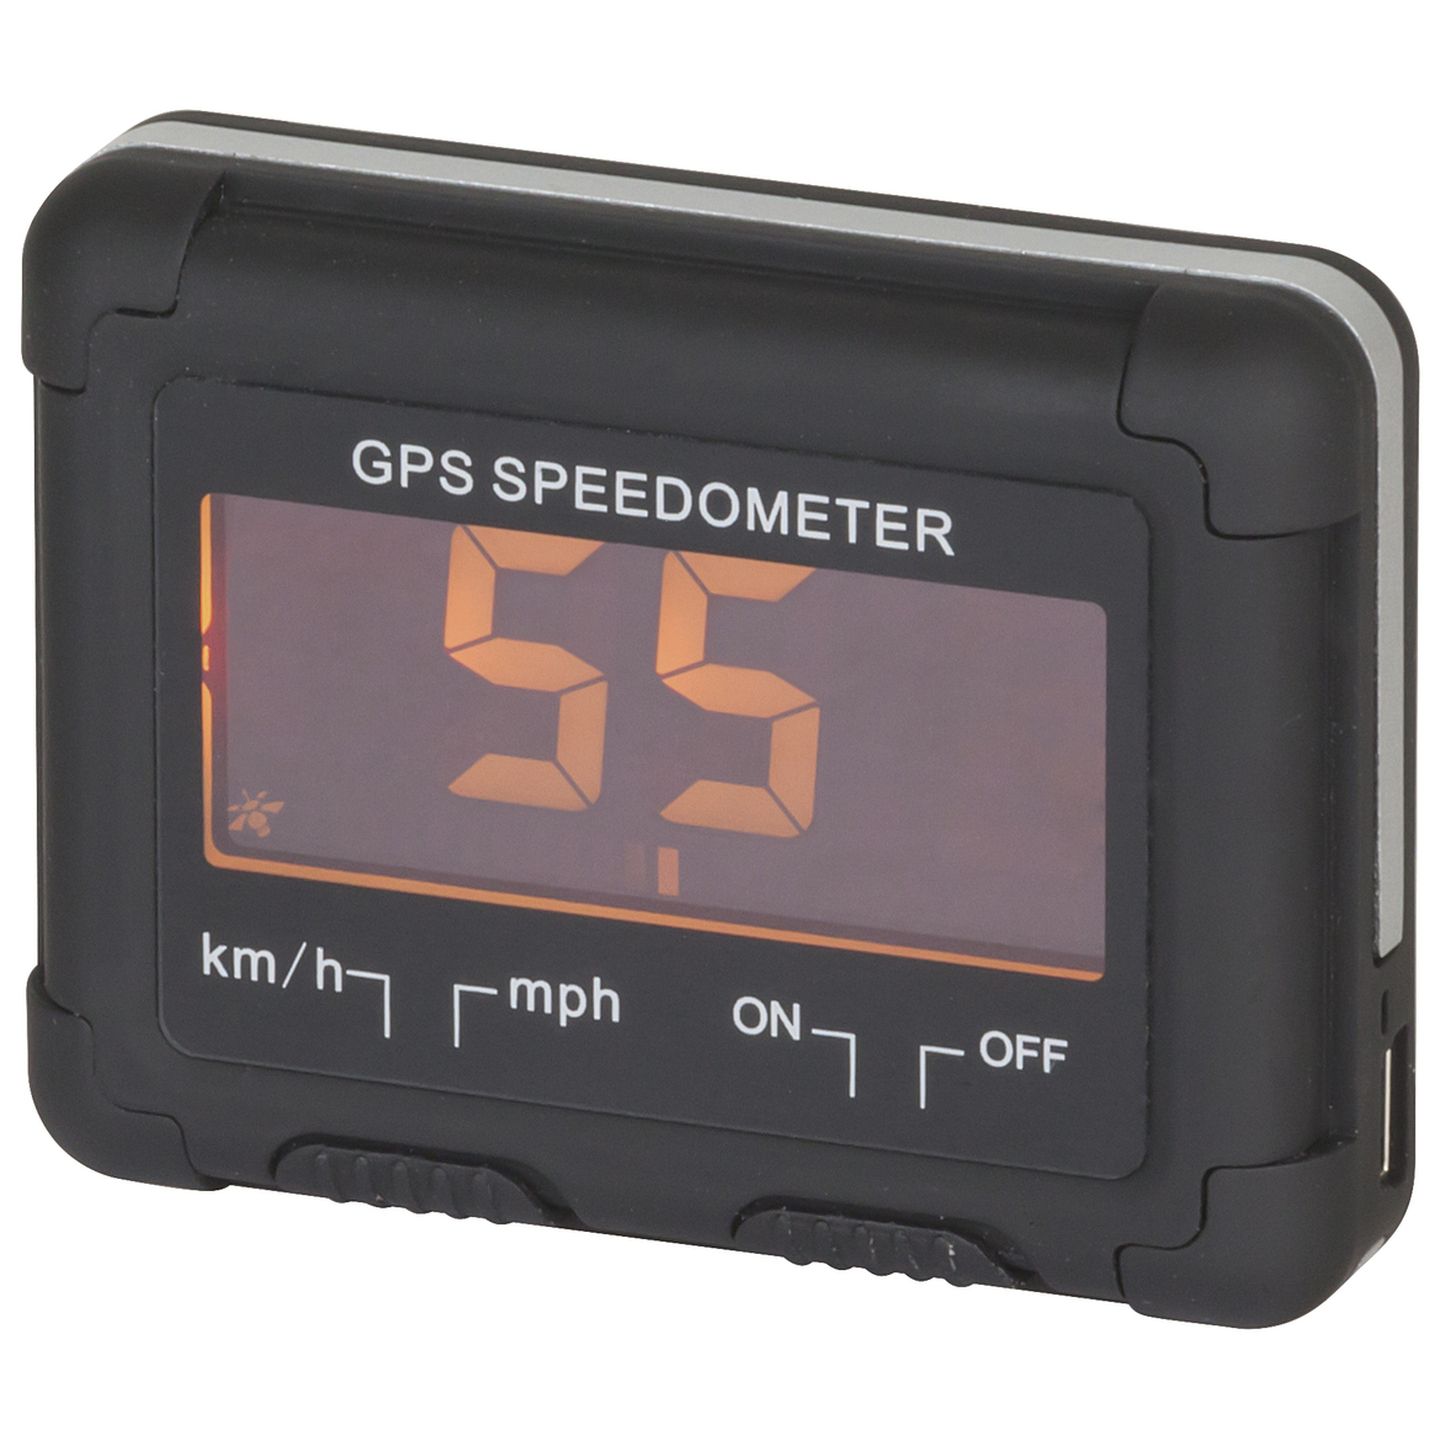
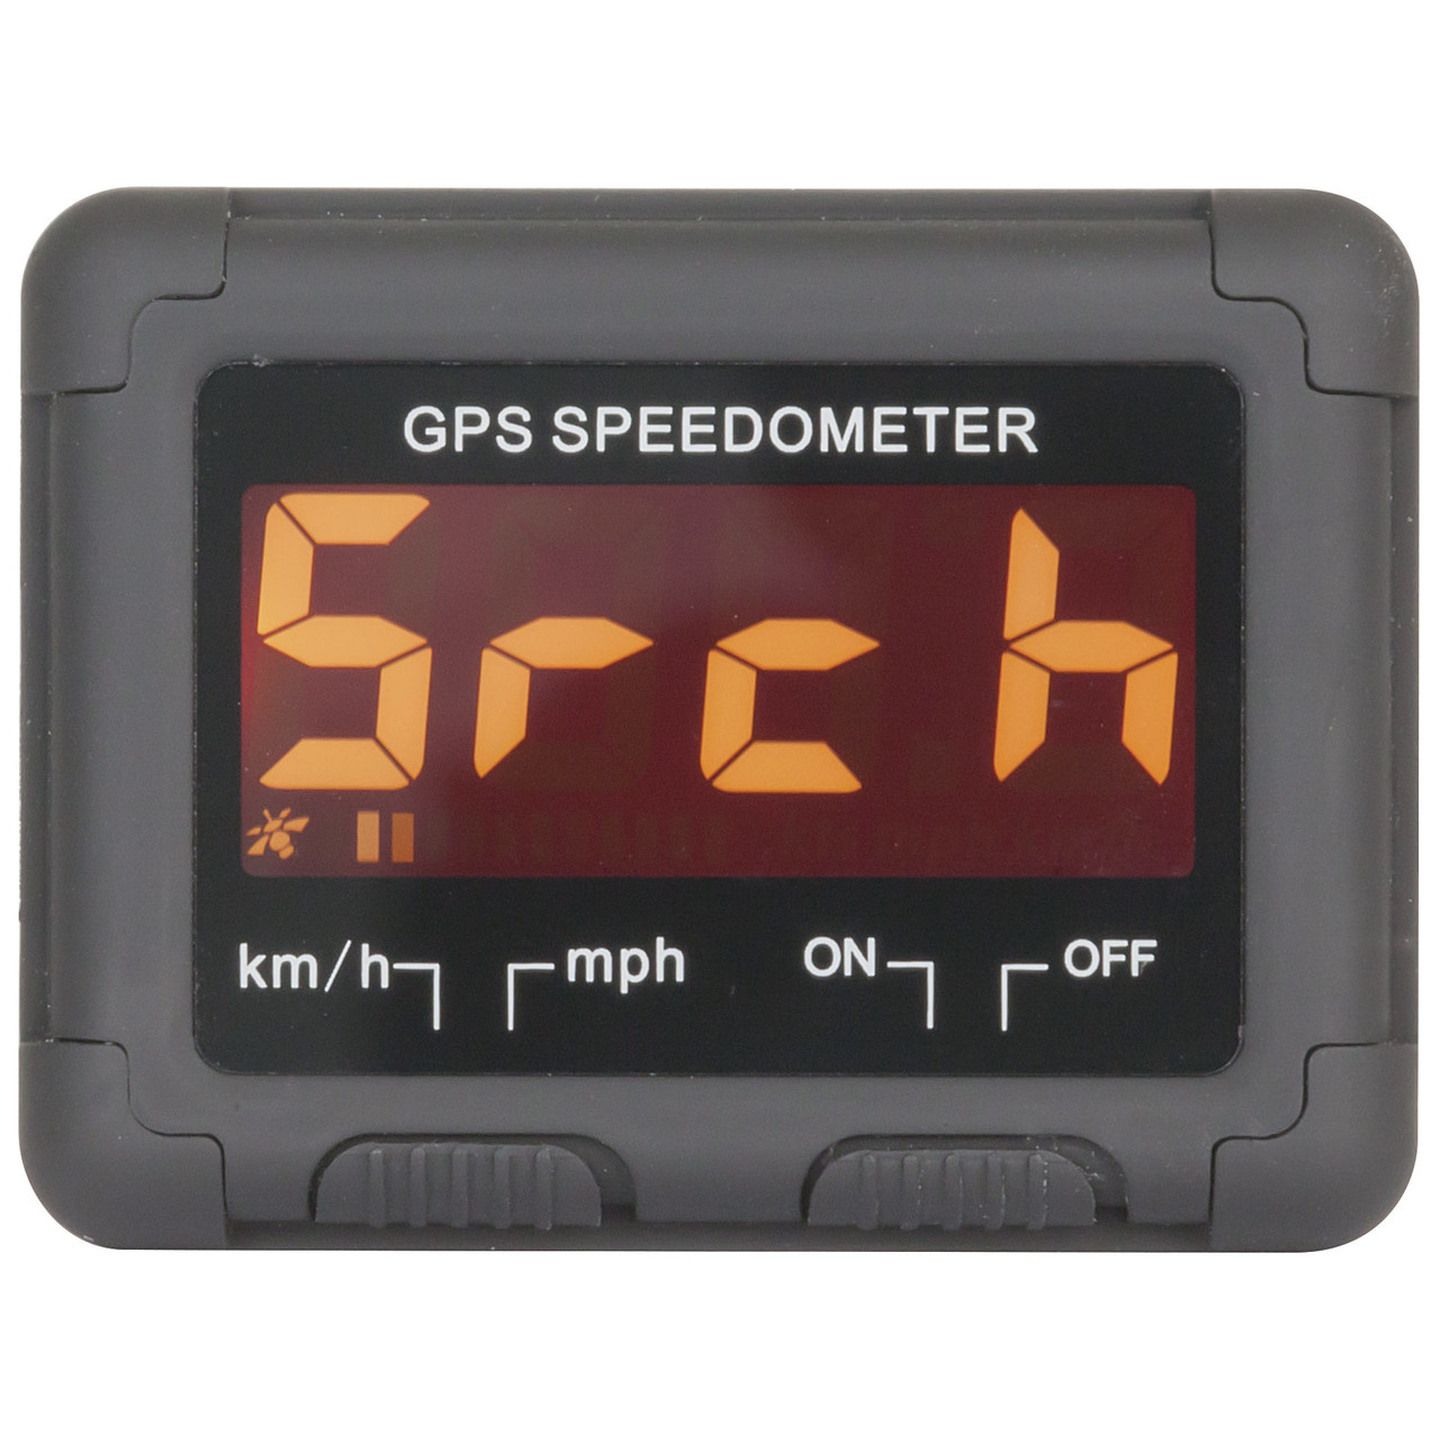
LCD GPS Speedometer
$99.00

Discover more
4G GPS Vehicle Tracker
CAT.NO: LA9038
$149.00$199.00
Save $50.00
Available for delivery
No store selected
Purchased Together
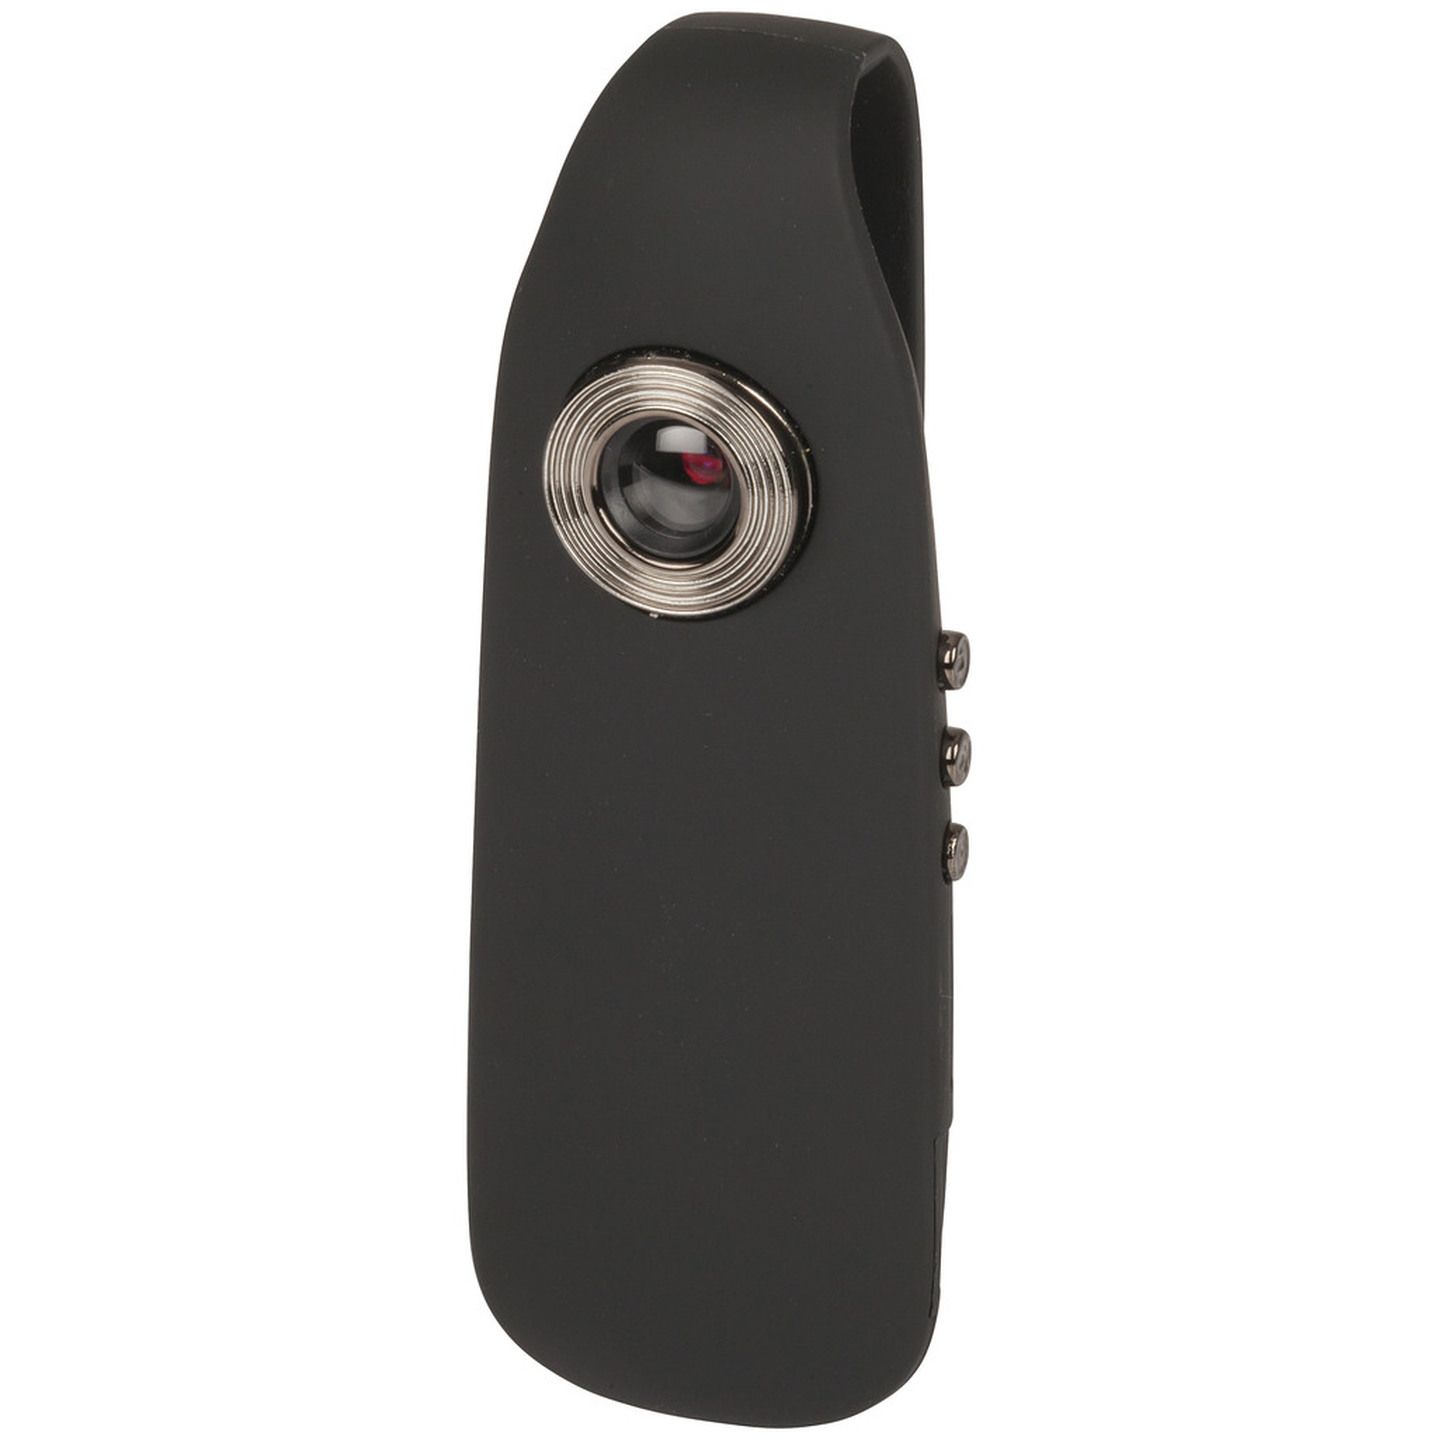
Nextech 1080p Clip-on Body Camera
CAT.NO: QC8200
$99.95
Not available for delivery
No store selected
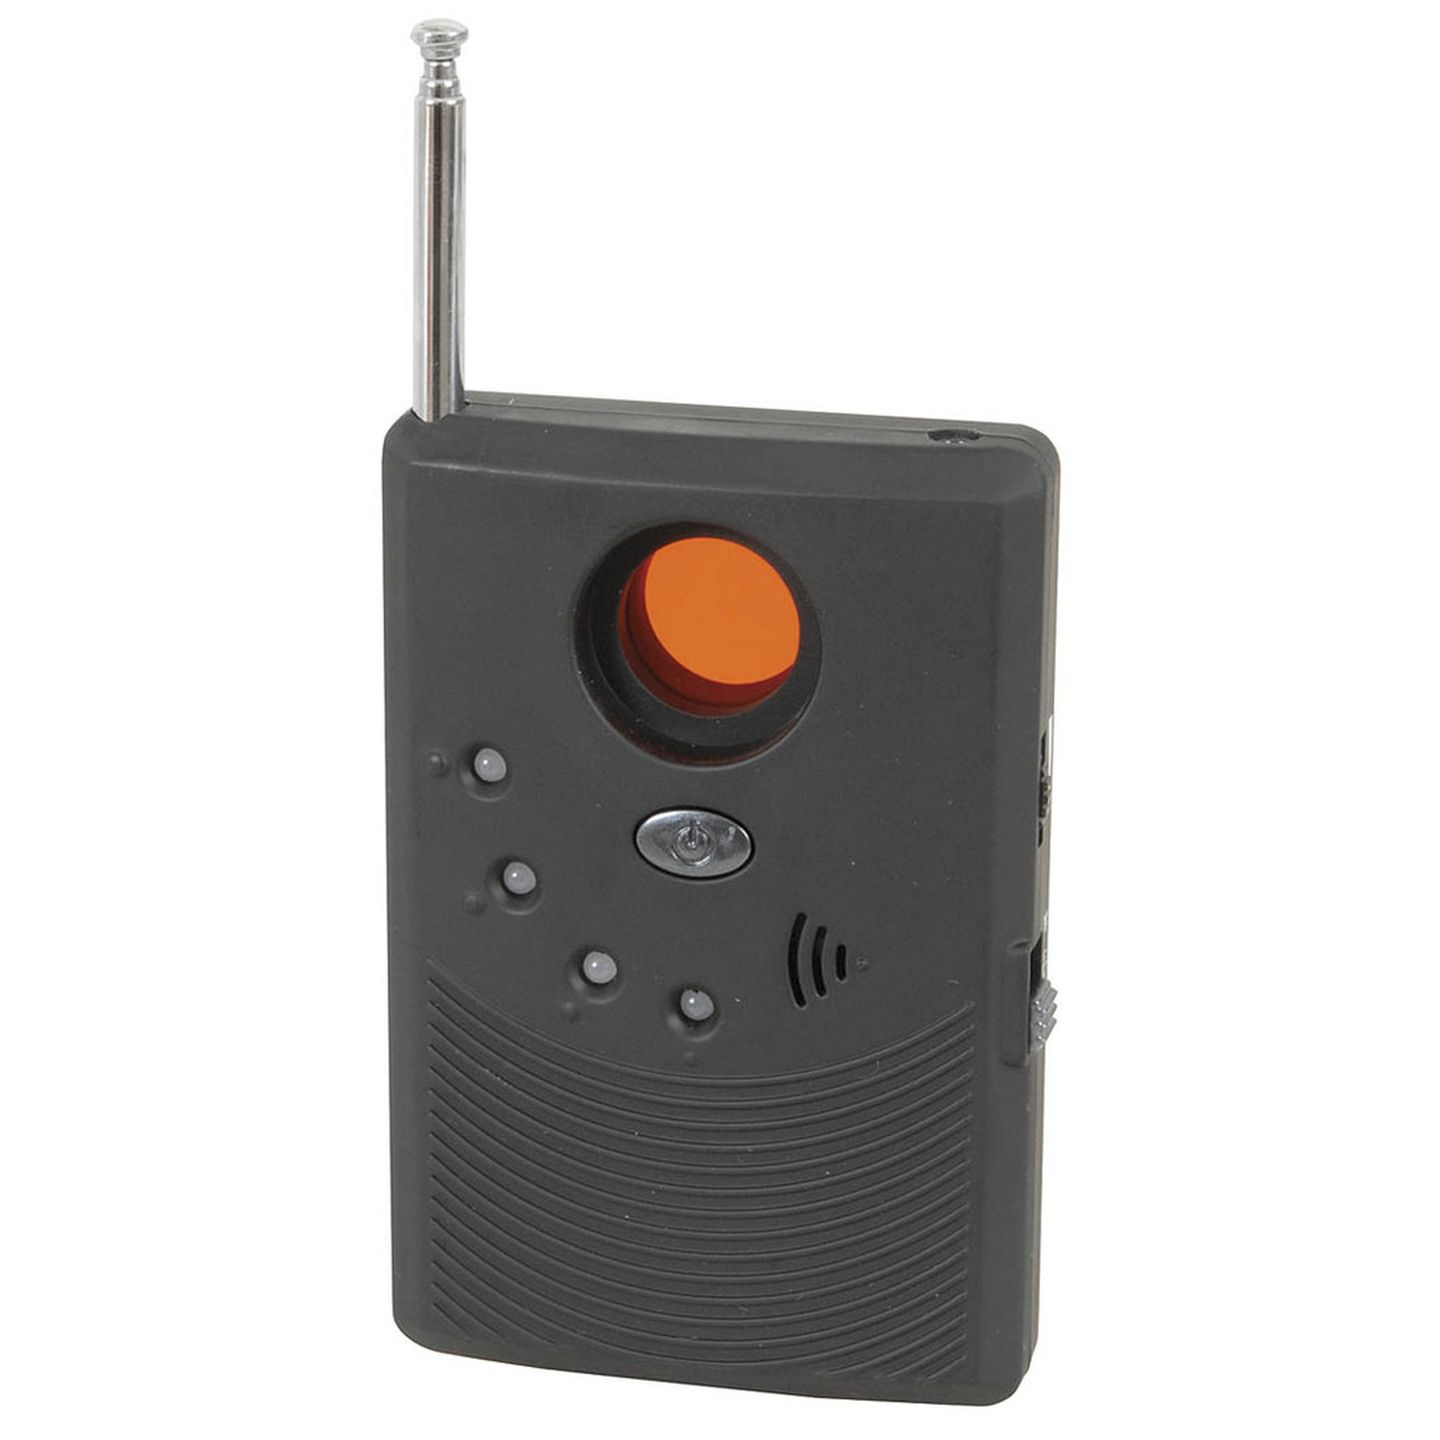
2 in 1 Camera Detector
CAT.NO: QC3506
$119.00
Available for delivery
No store selected